Sunday Worship 10.30am and 6.15pm
Wednesday Prayer & Bible Study 7.30pm

+

Crafts

IMG_1480

Zacchaeus Tree Craft

And for our final craft of our A-Z Memory Verses, we are making a tree, just like the one Zacchaeus climbed. We don’t recommend you climb any trees, but we do recommend you print off these templates and get cutting and gluing! Enjoy!


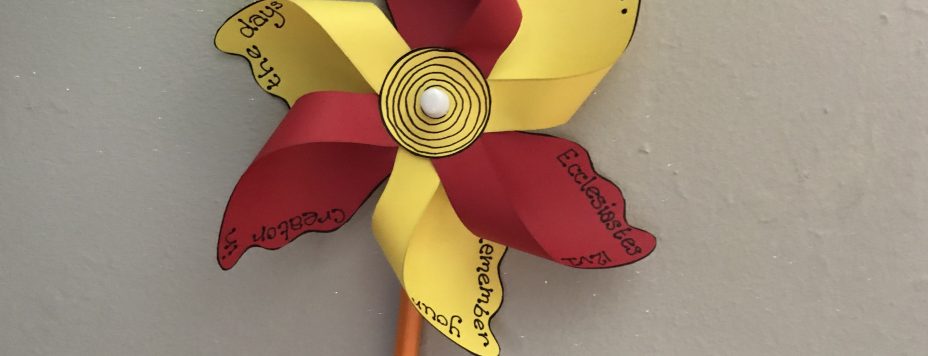
Zacchaeus’ tree craft instructions
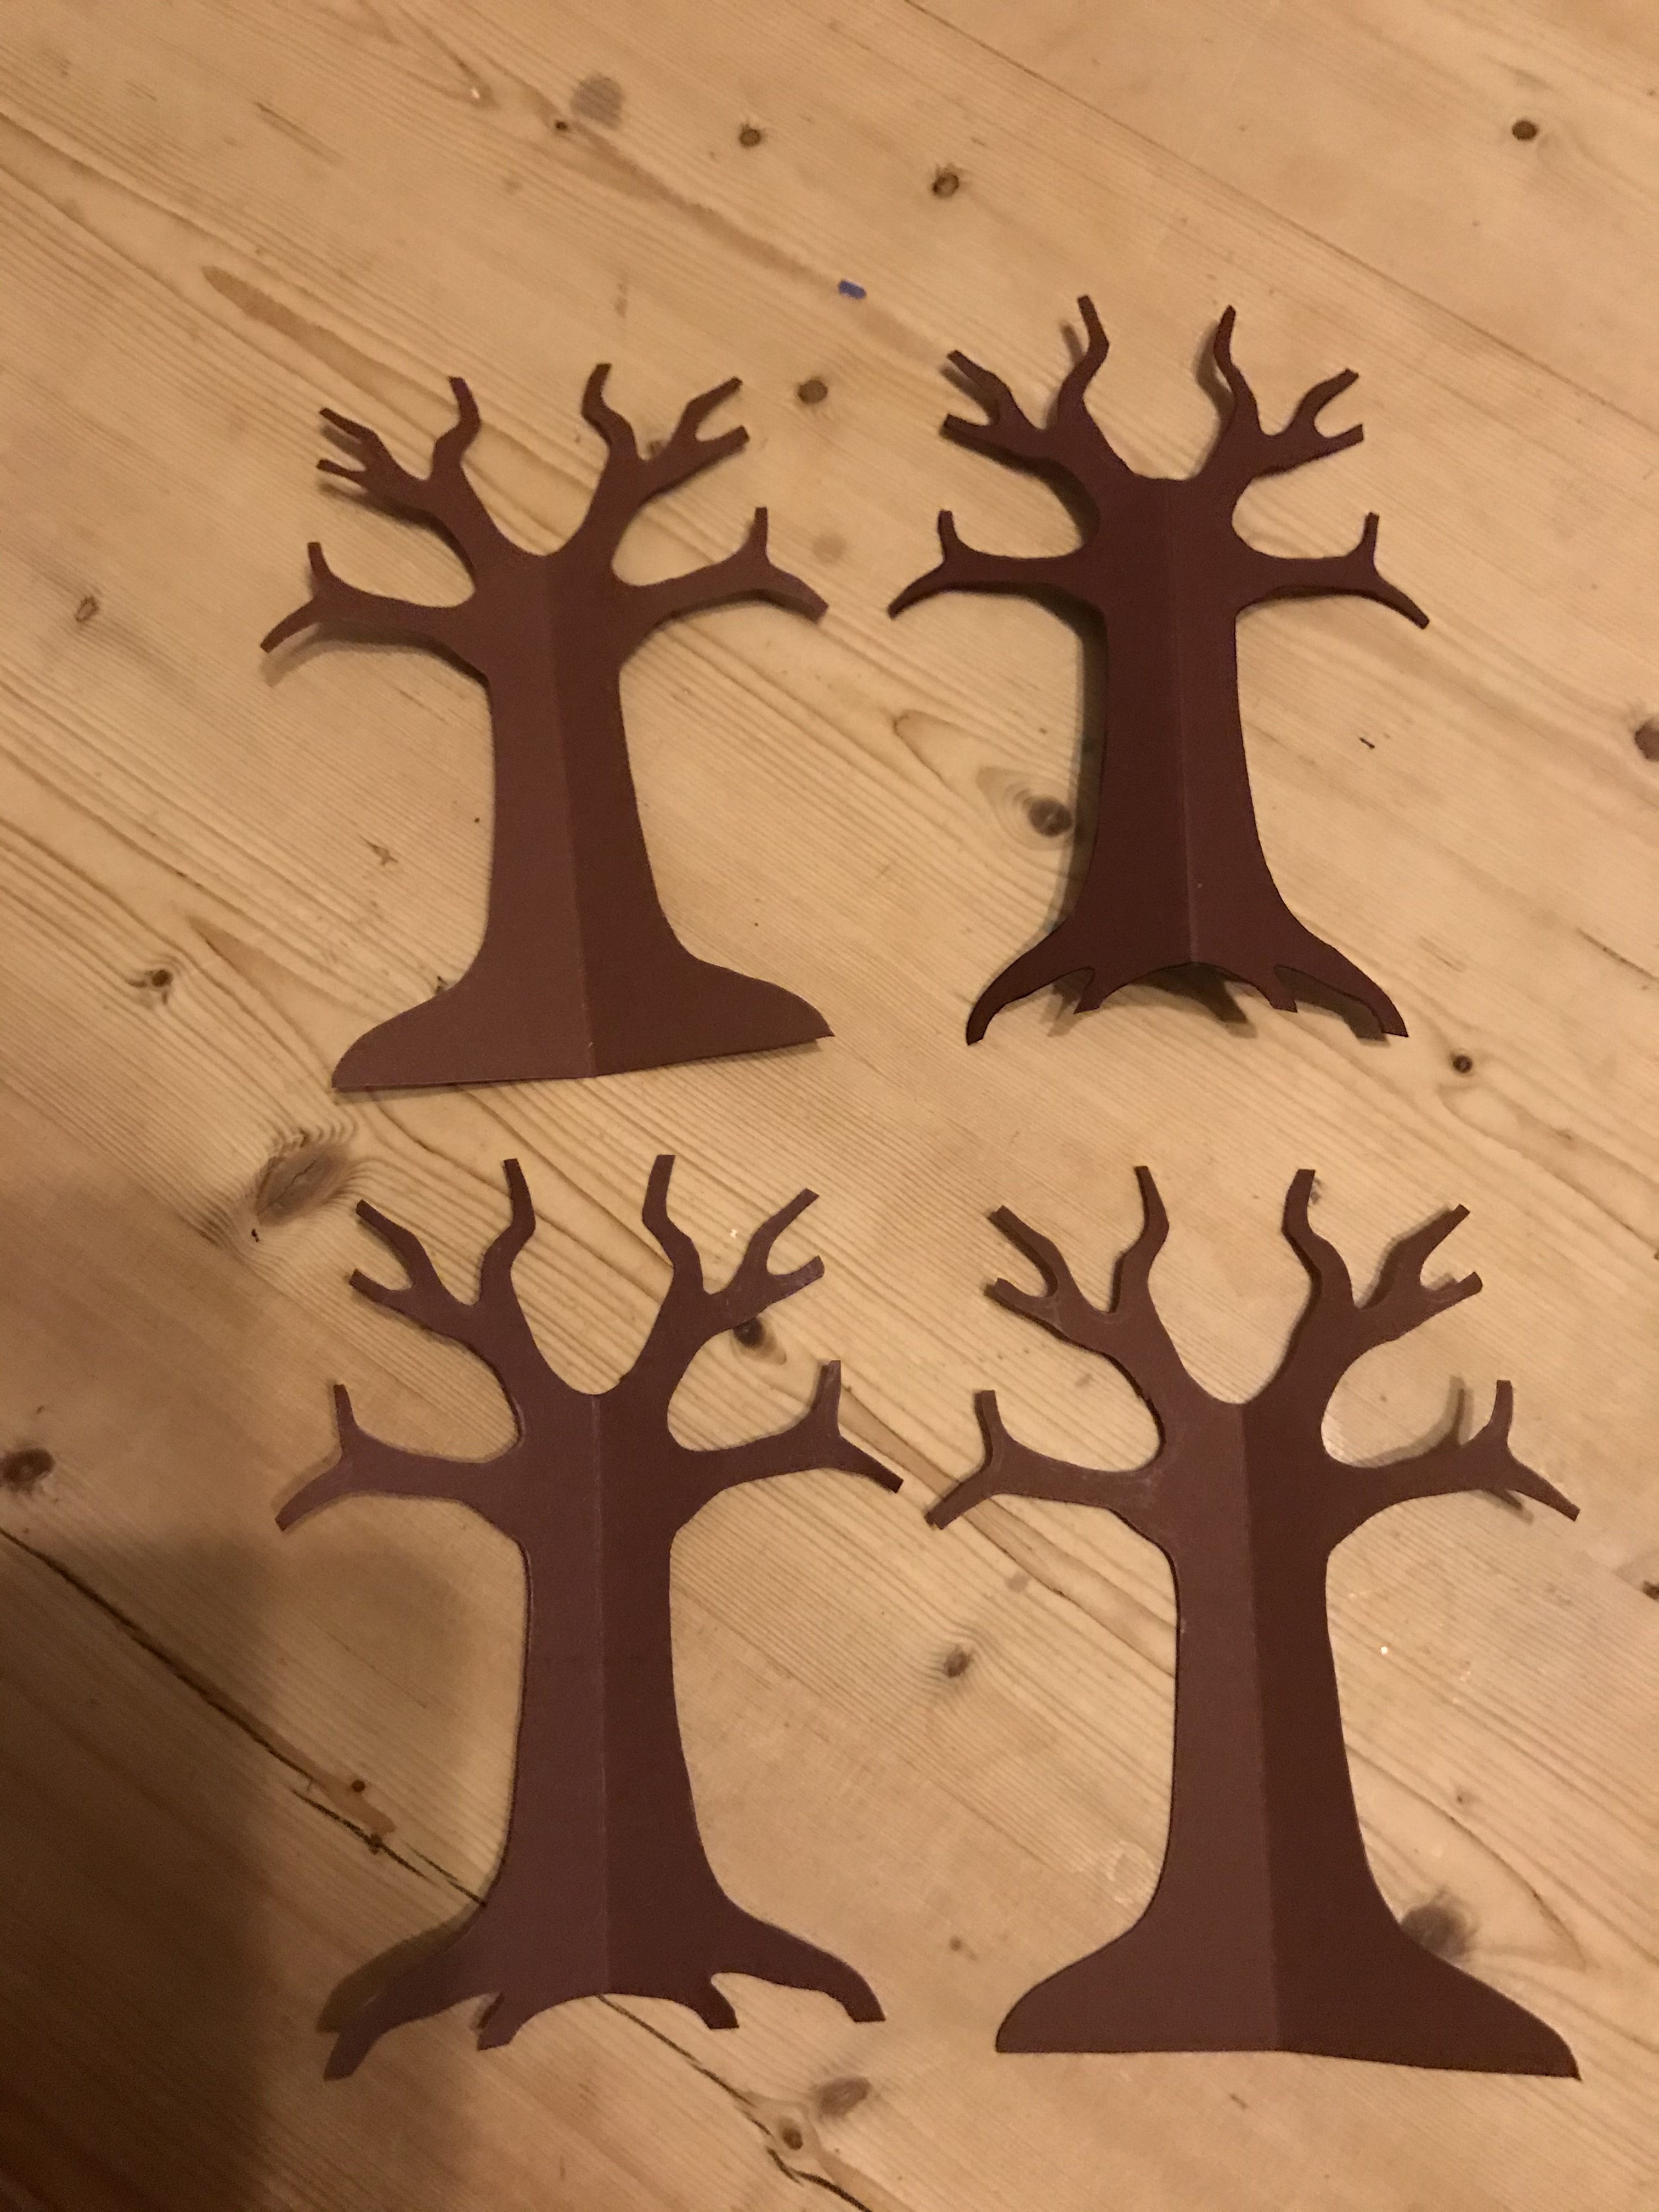
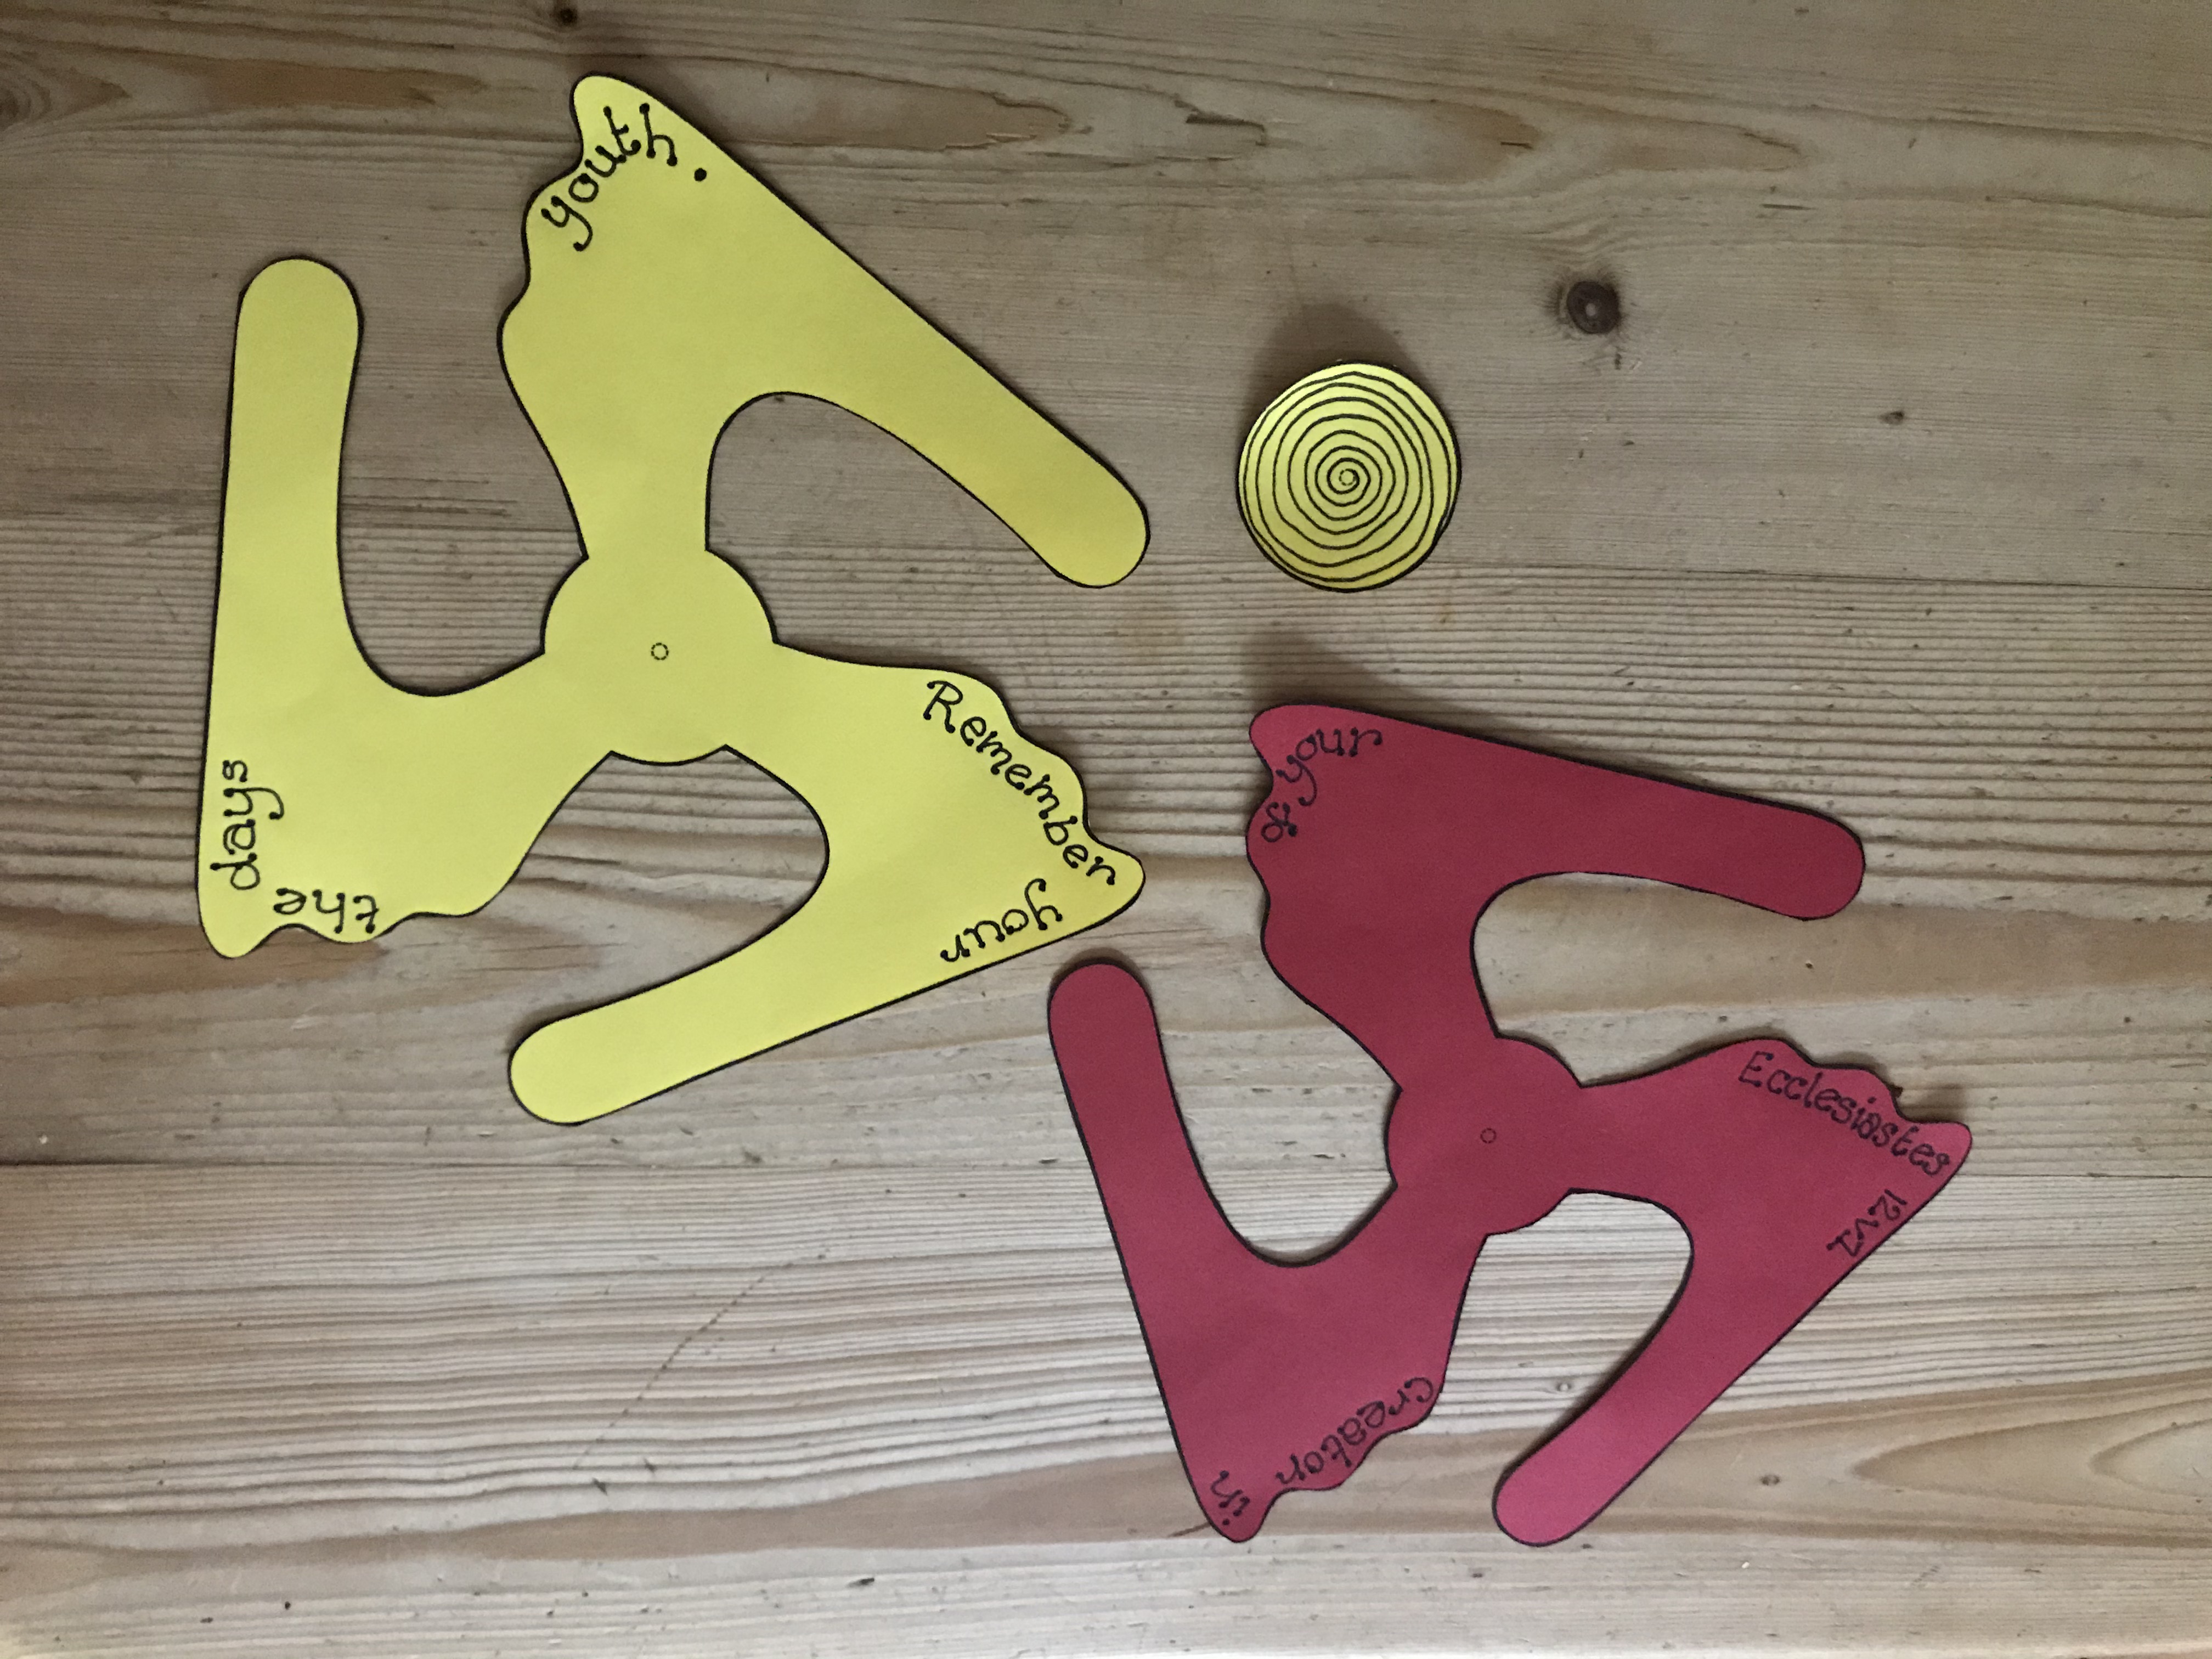
1. Print off the tree template
2. Very carefully cut out the tree template
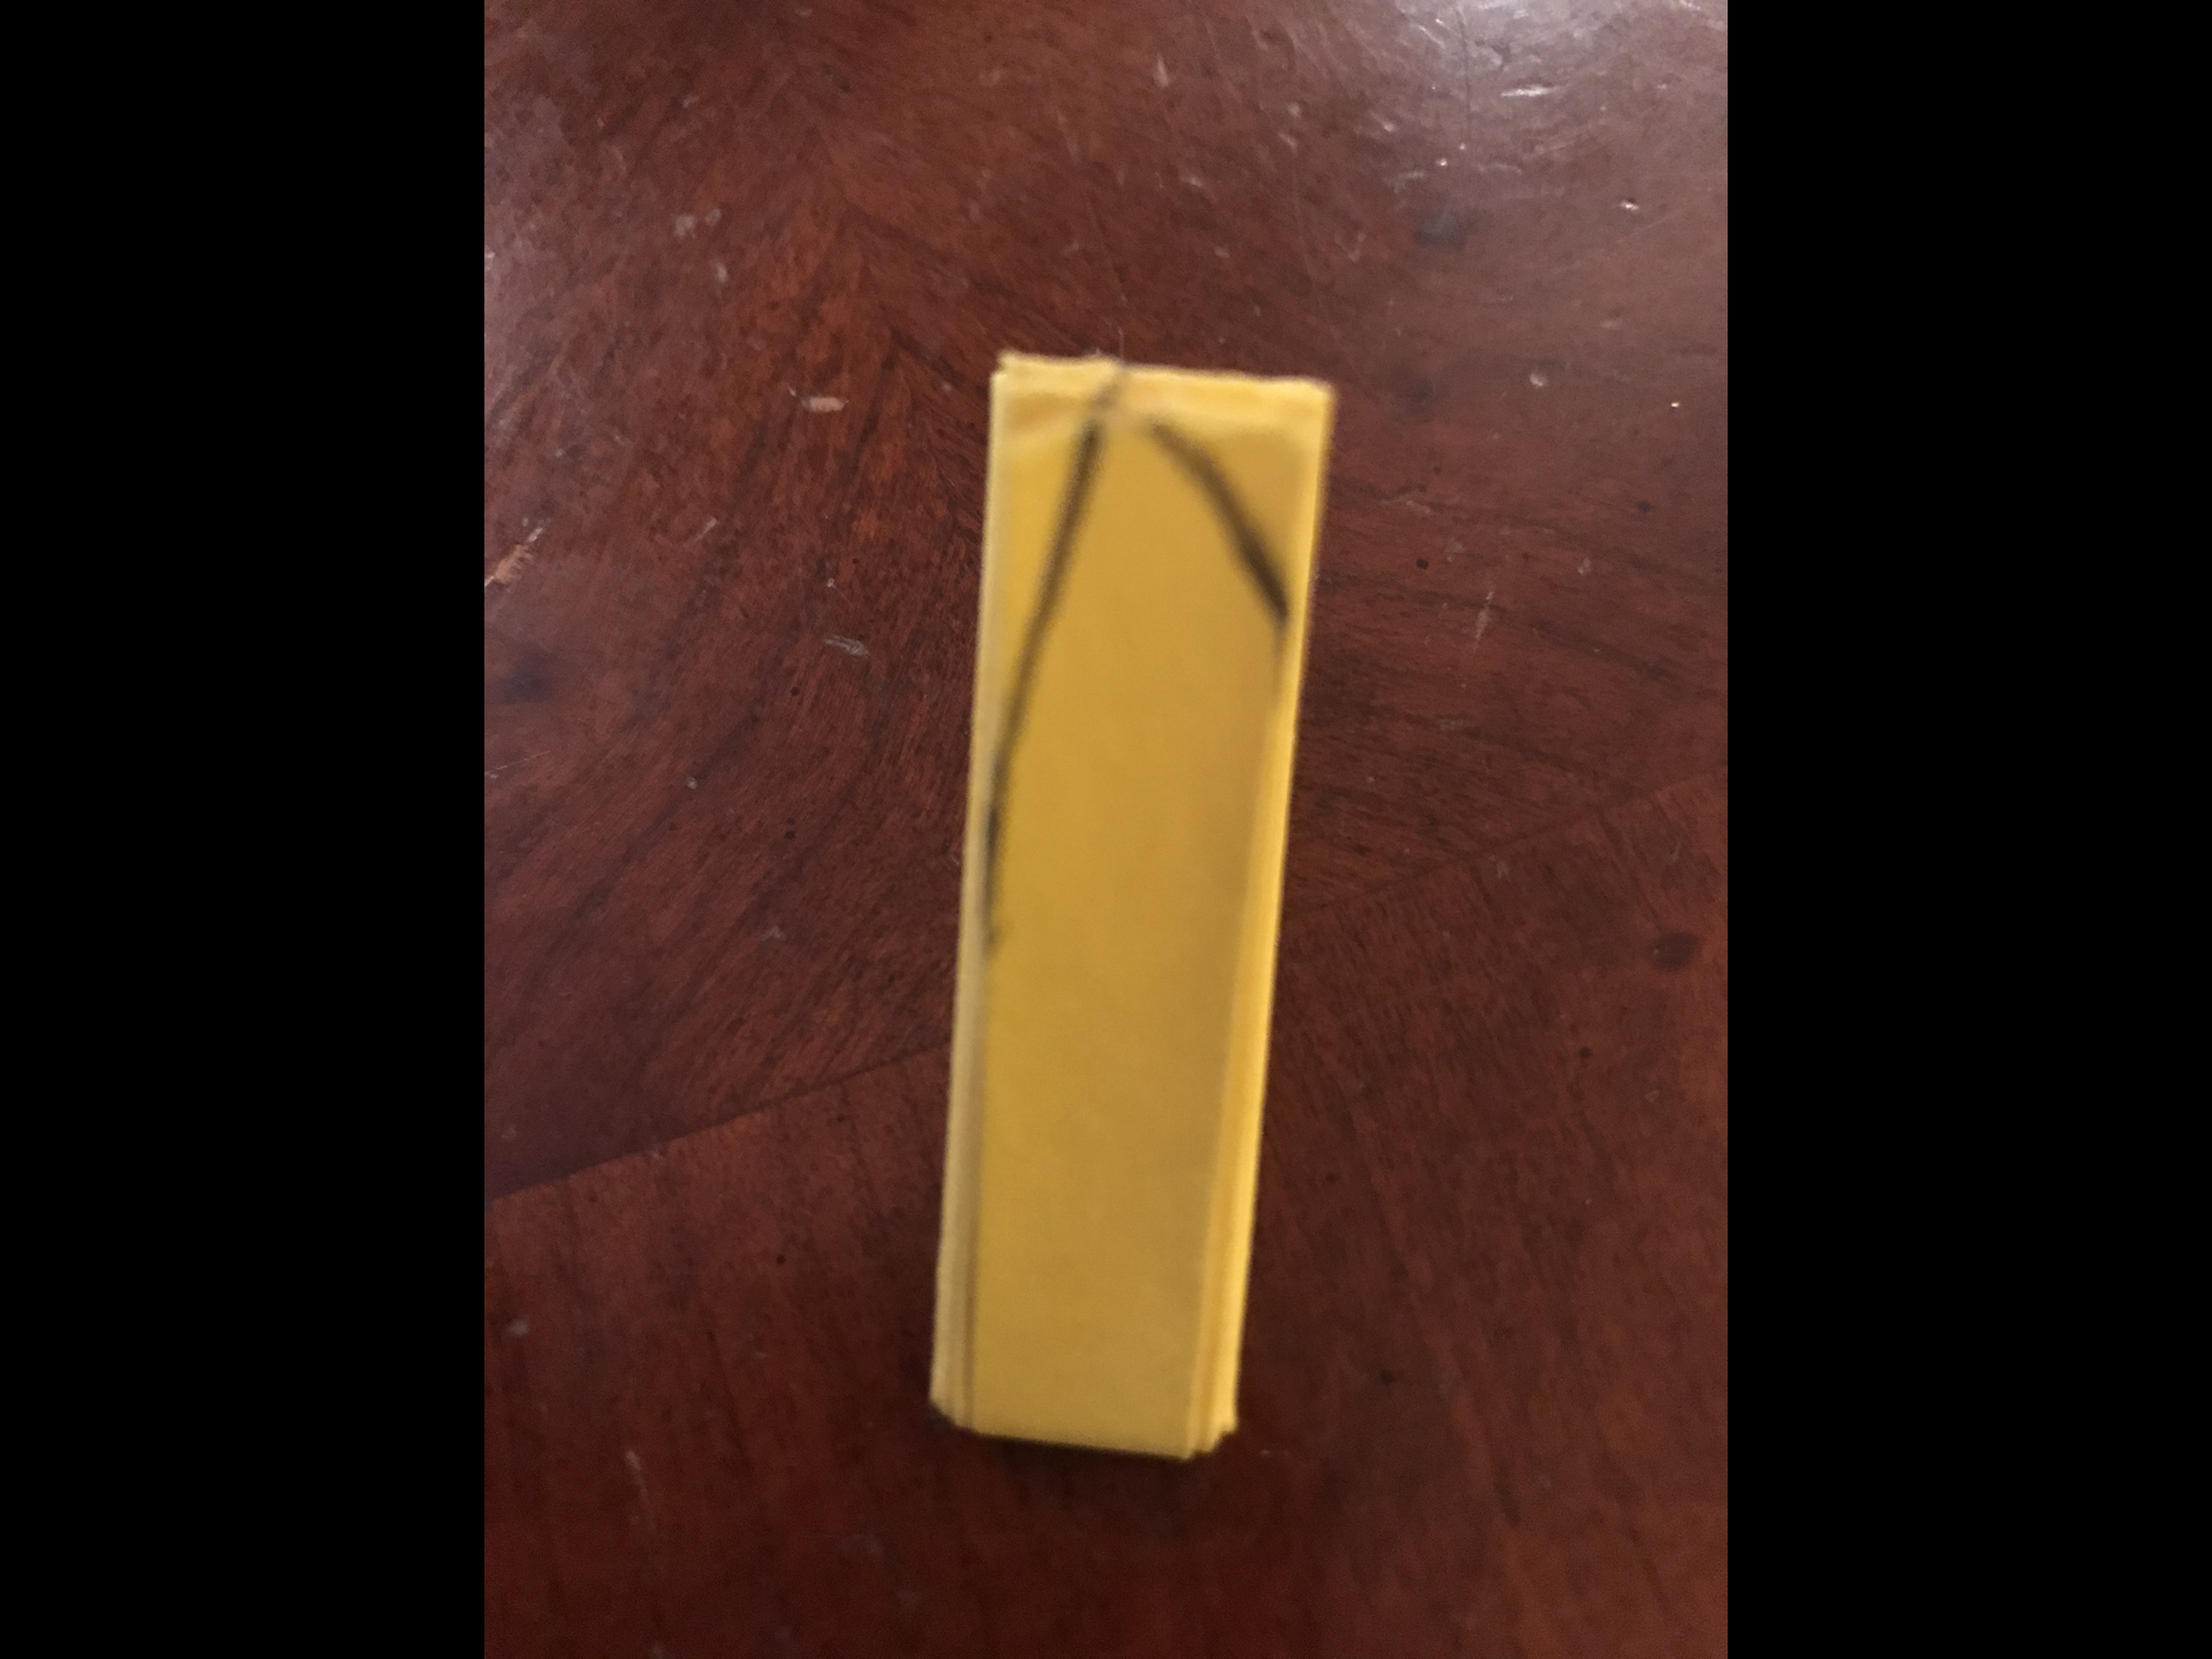
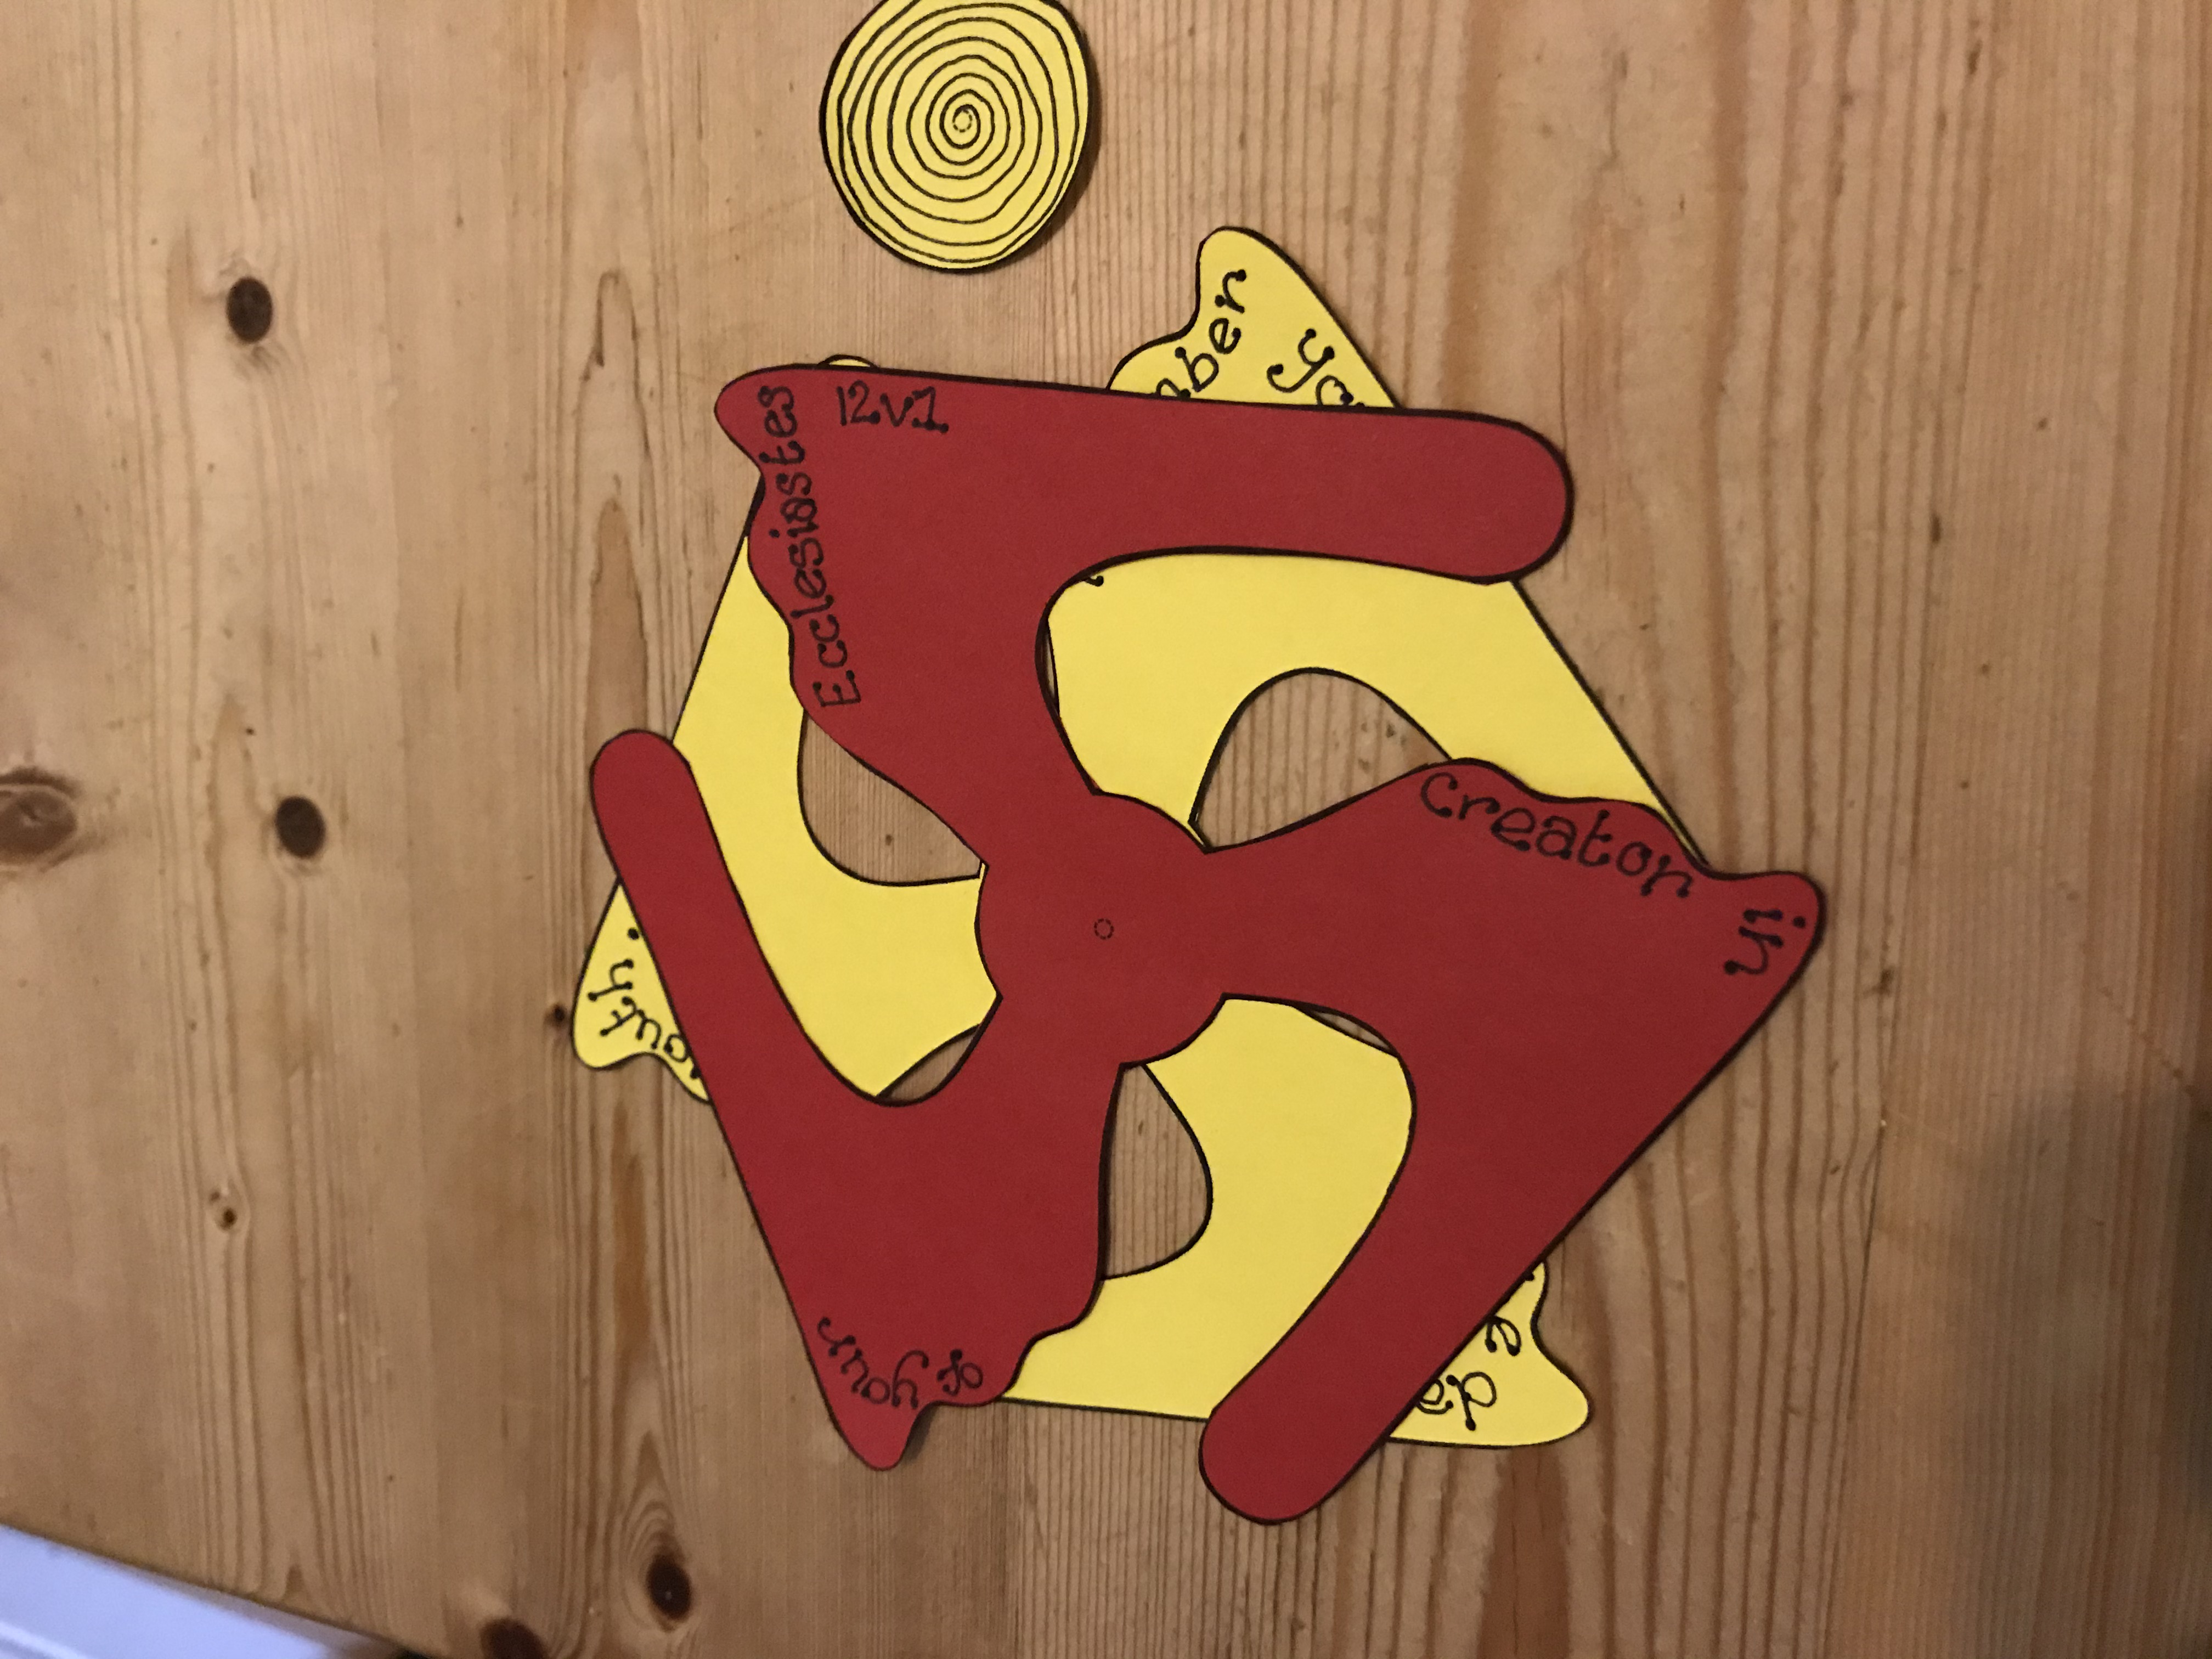
3. Score and fold along the centre line
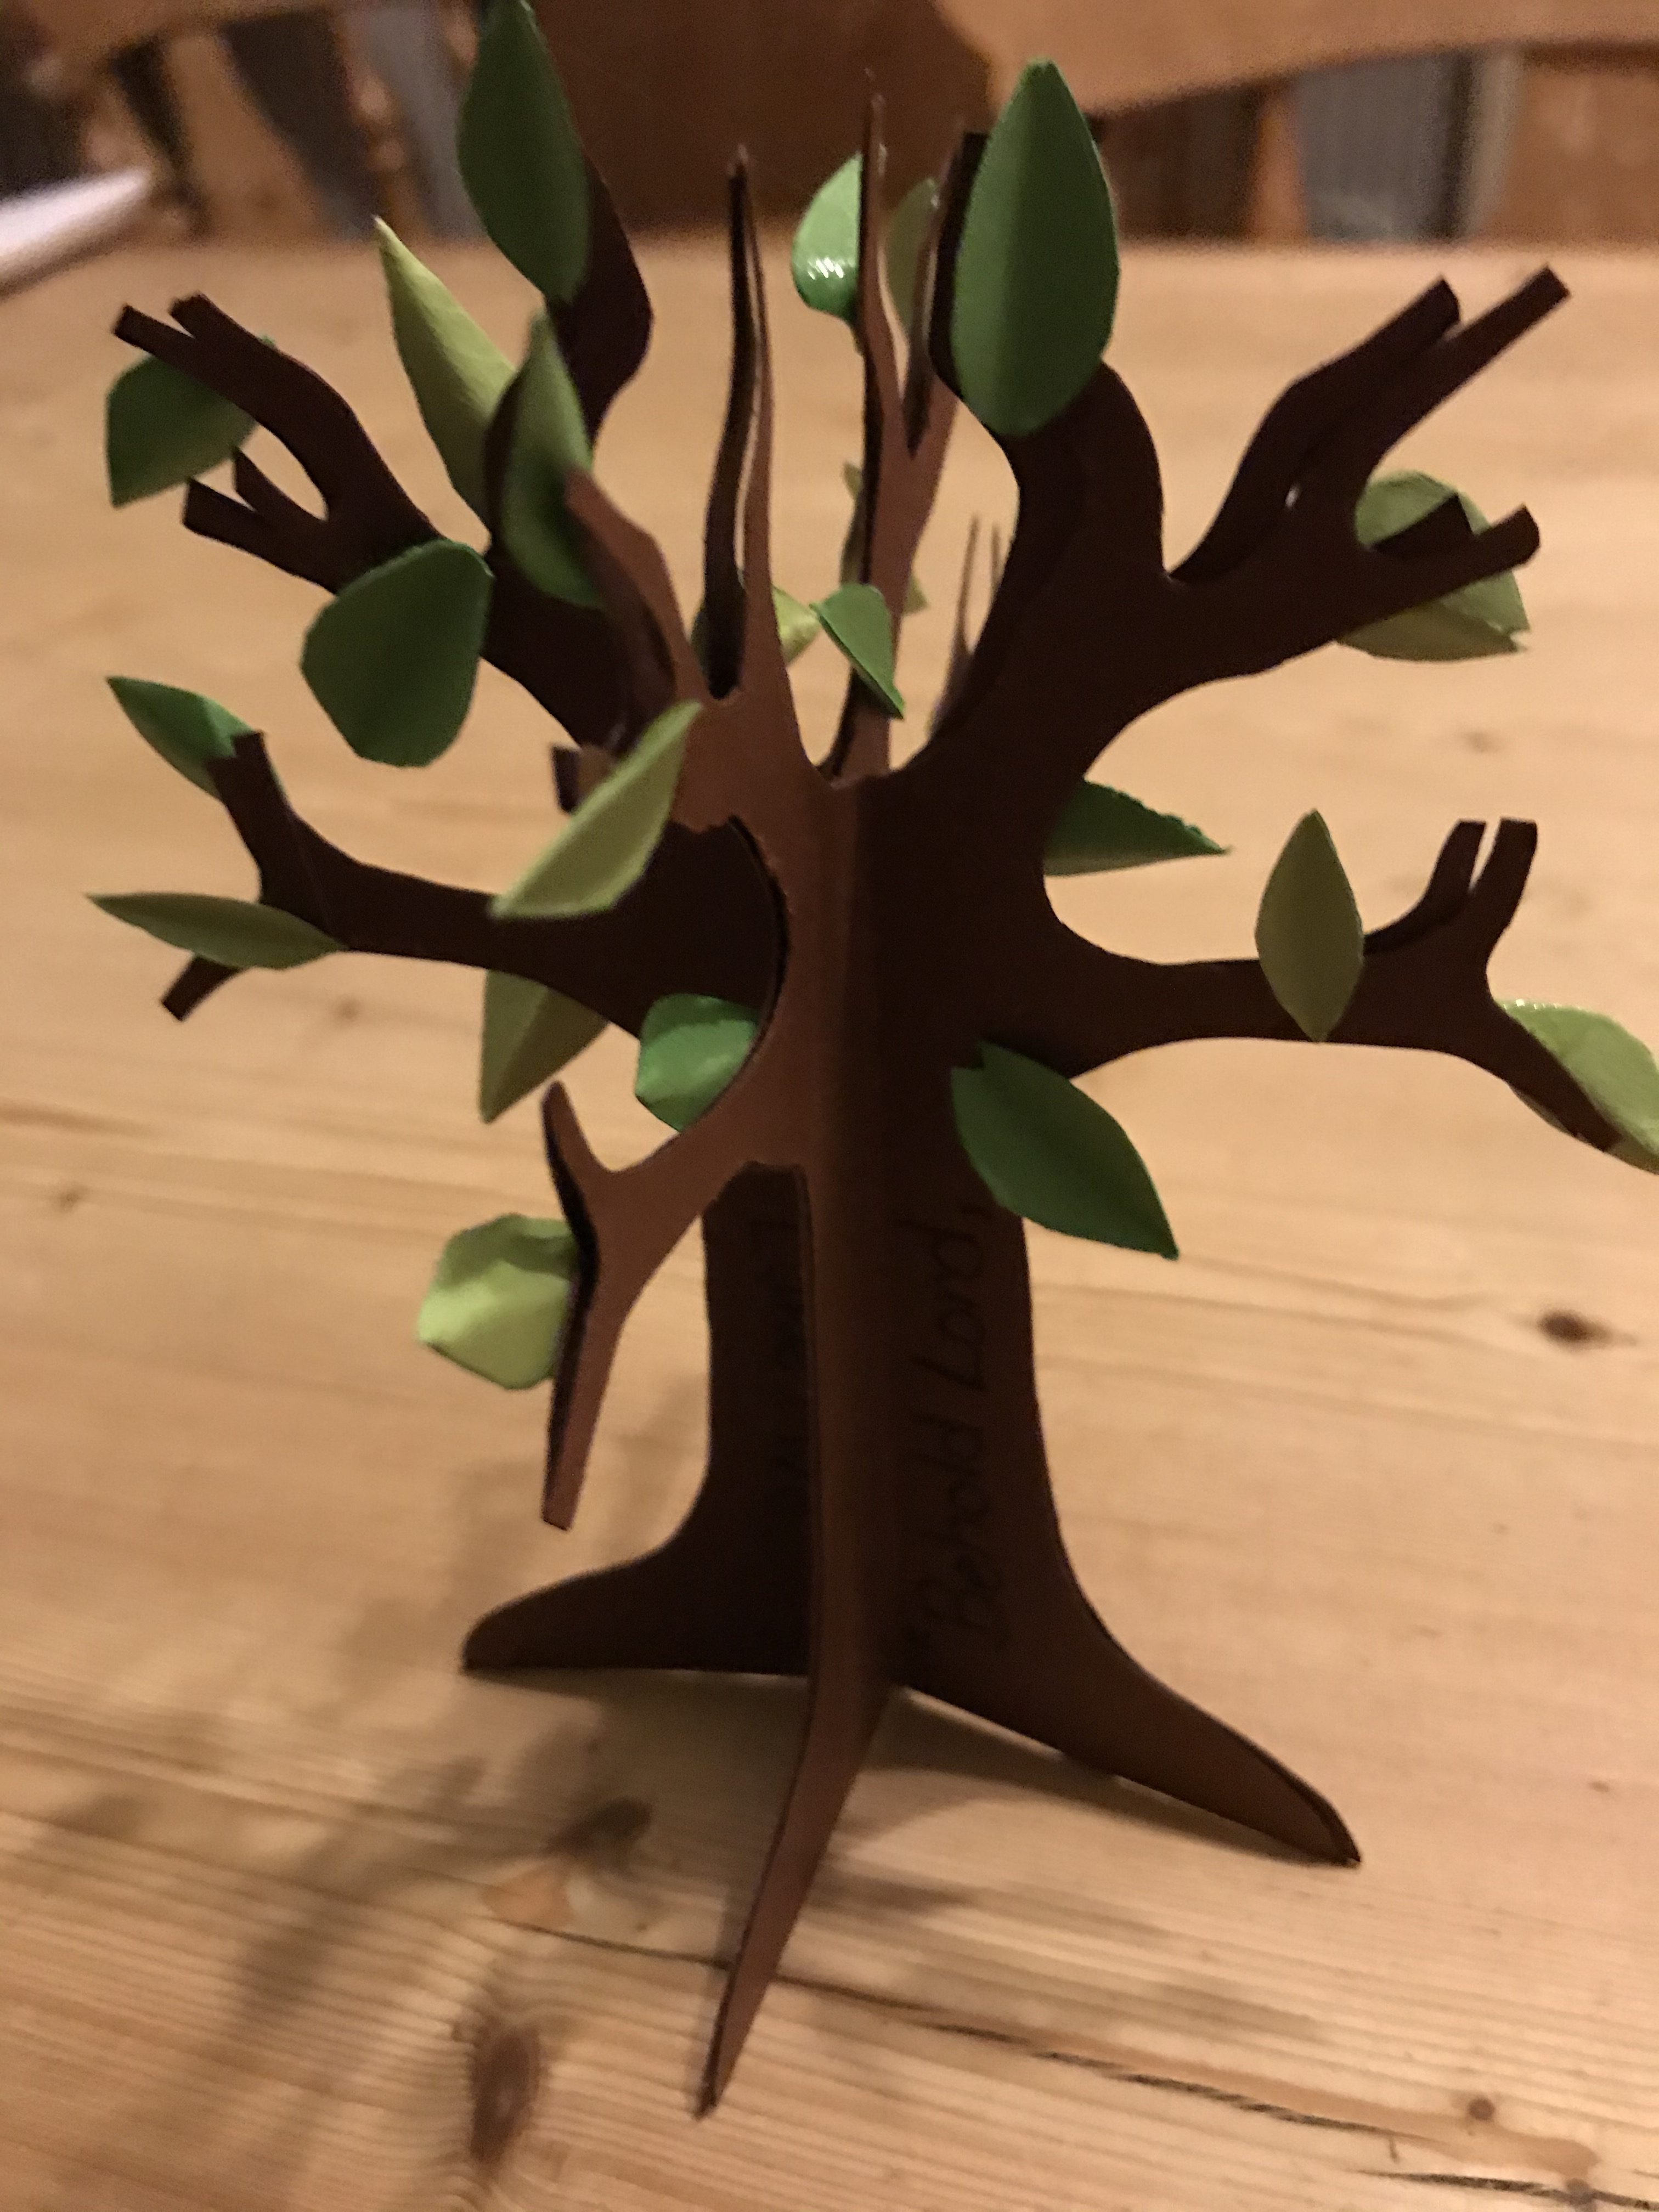
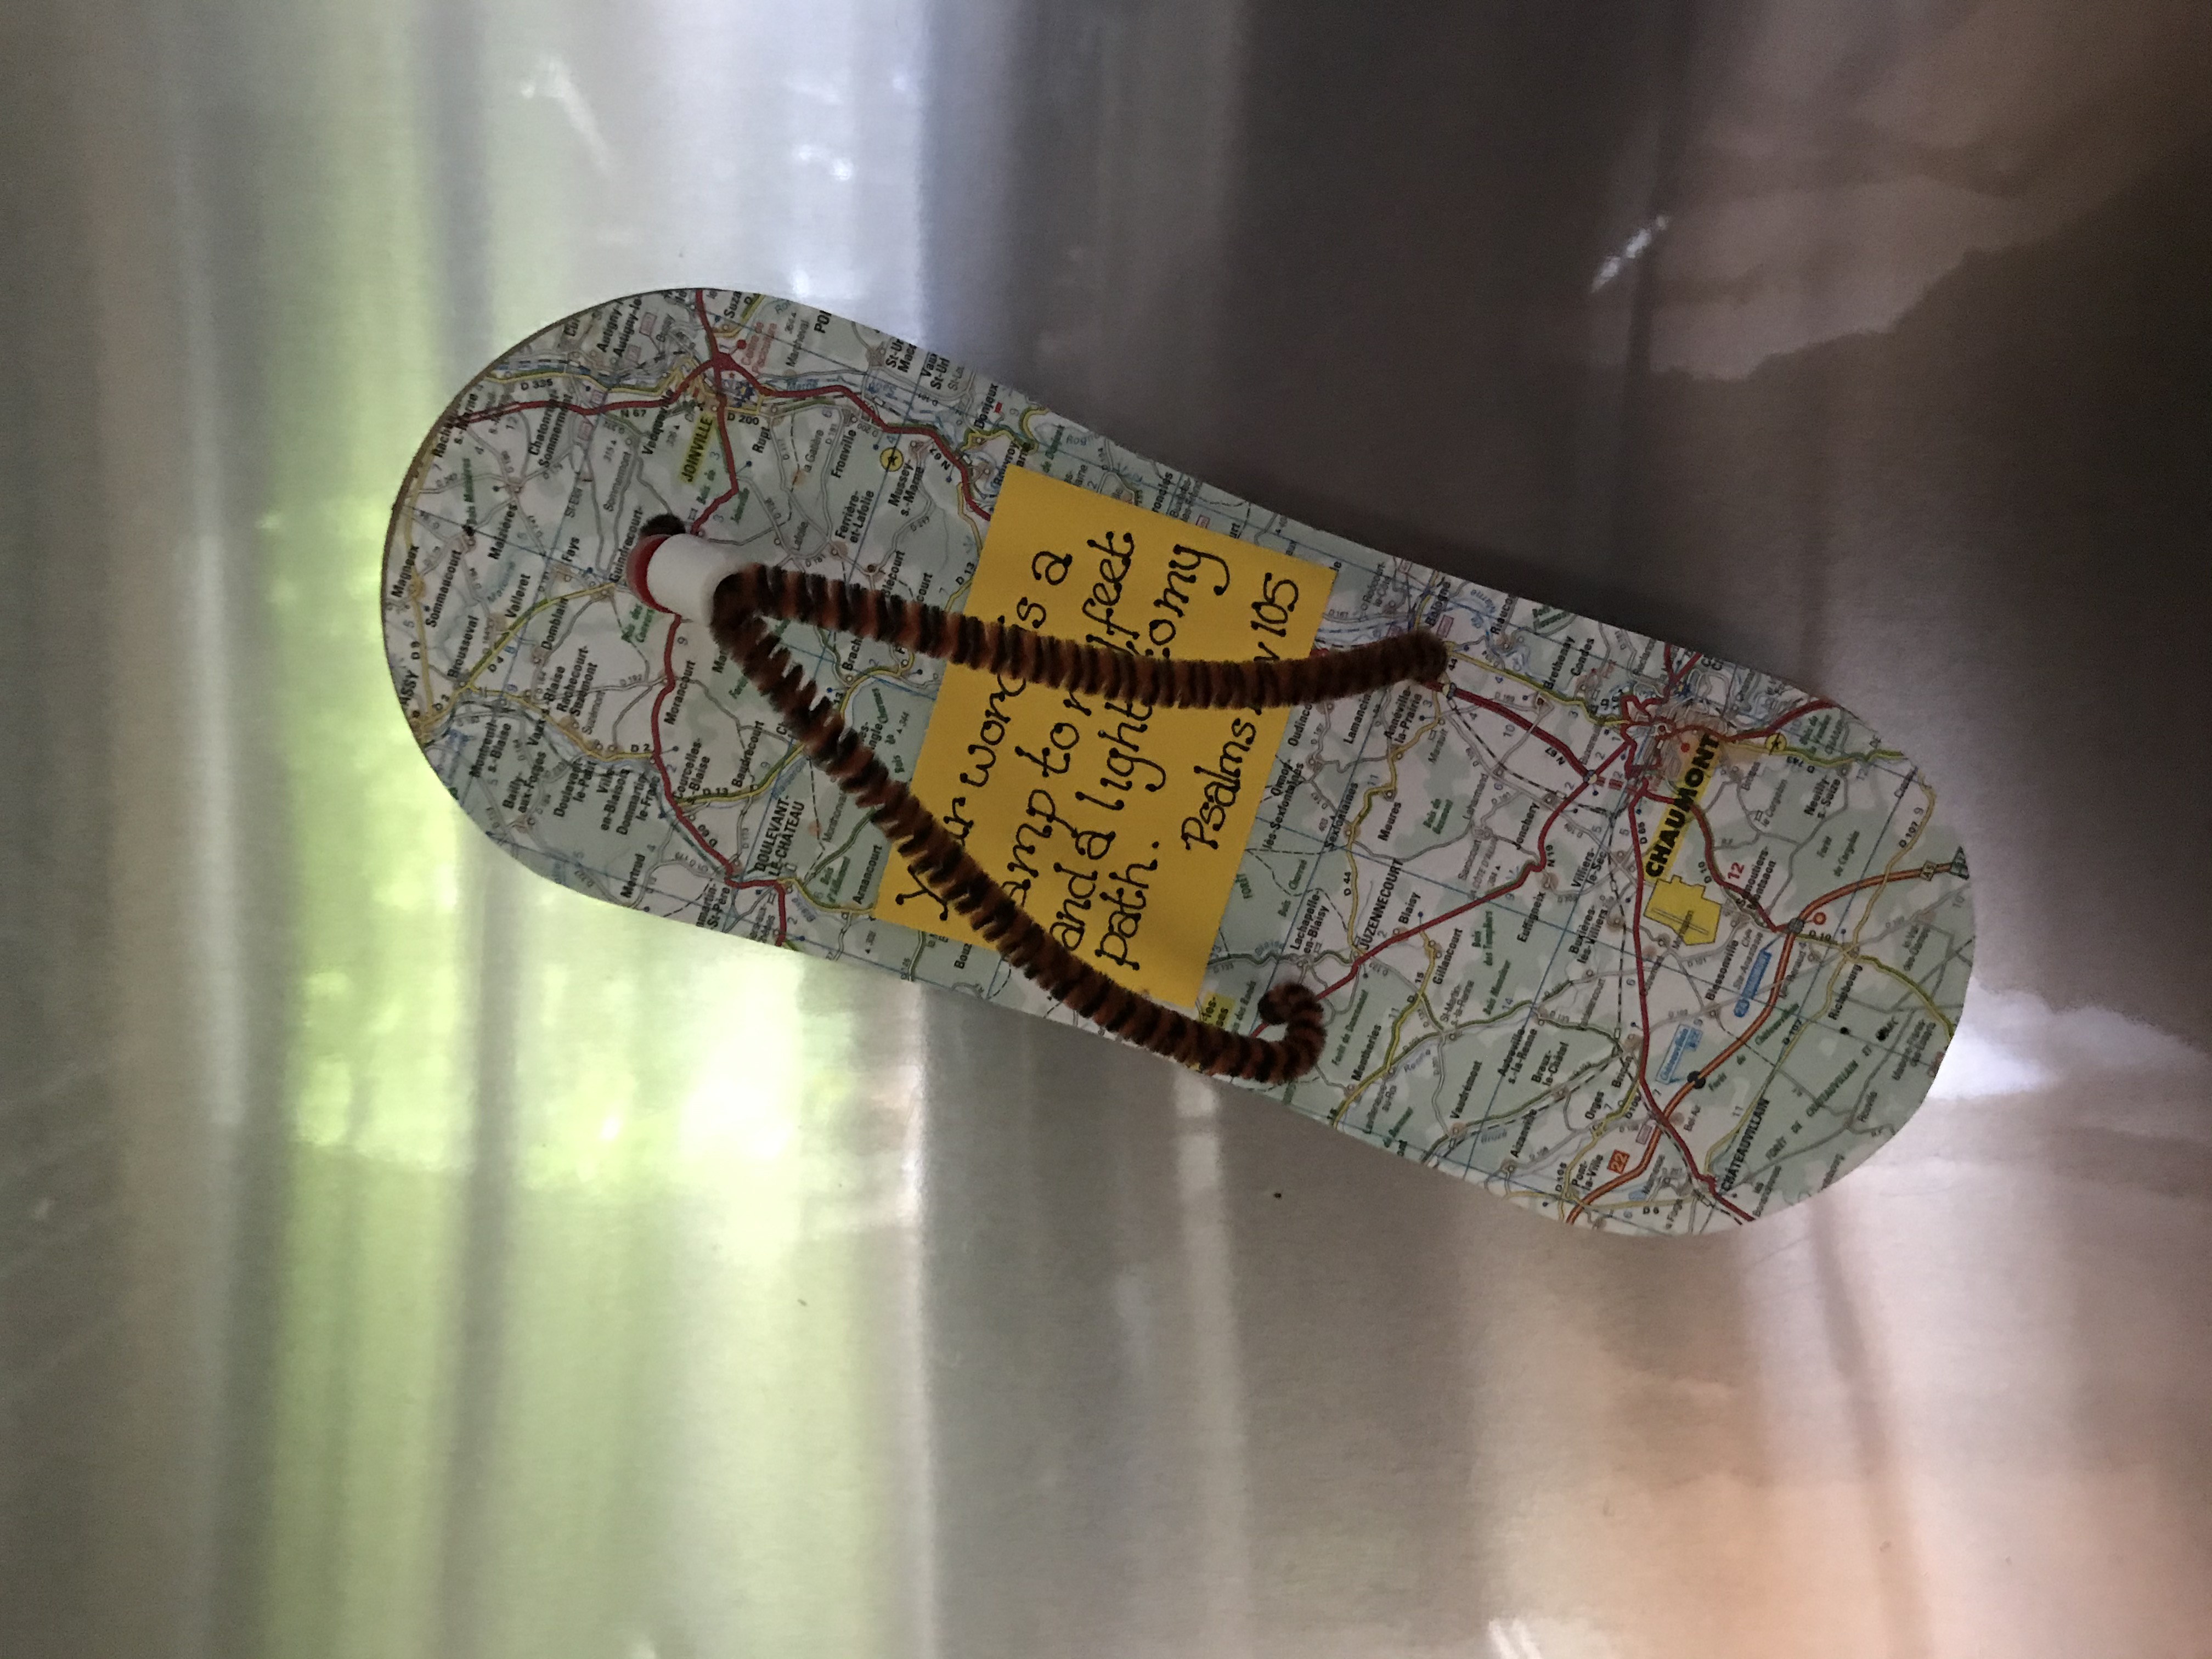
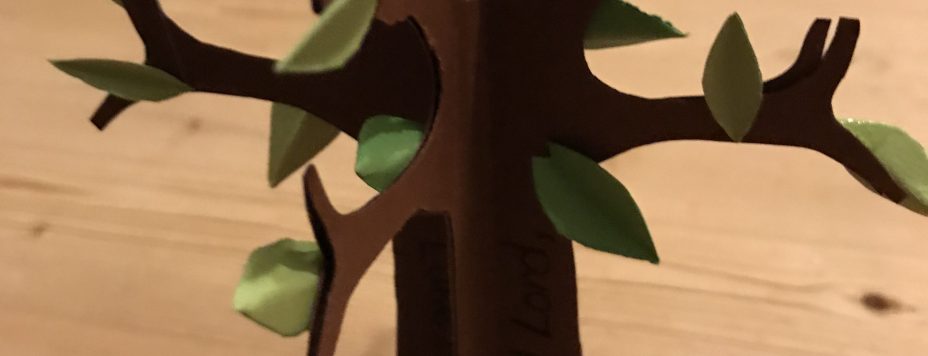
4. Write the memory verse – Zacchaeus said, “Behold Lord, half my goods I give to the poor.” Luke 19:8 on the tree trunk.
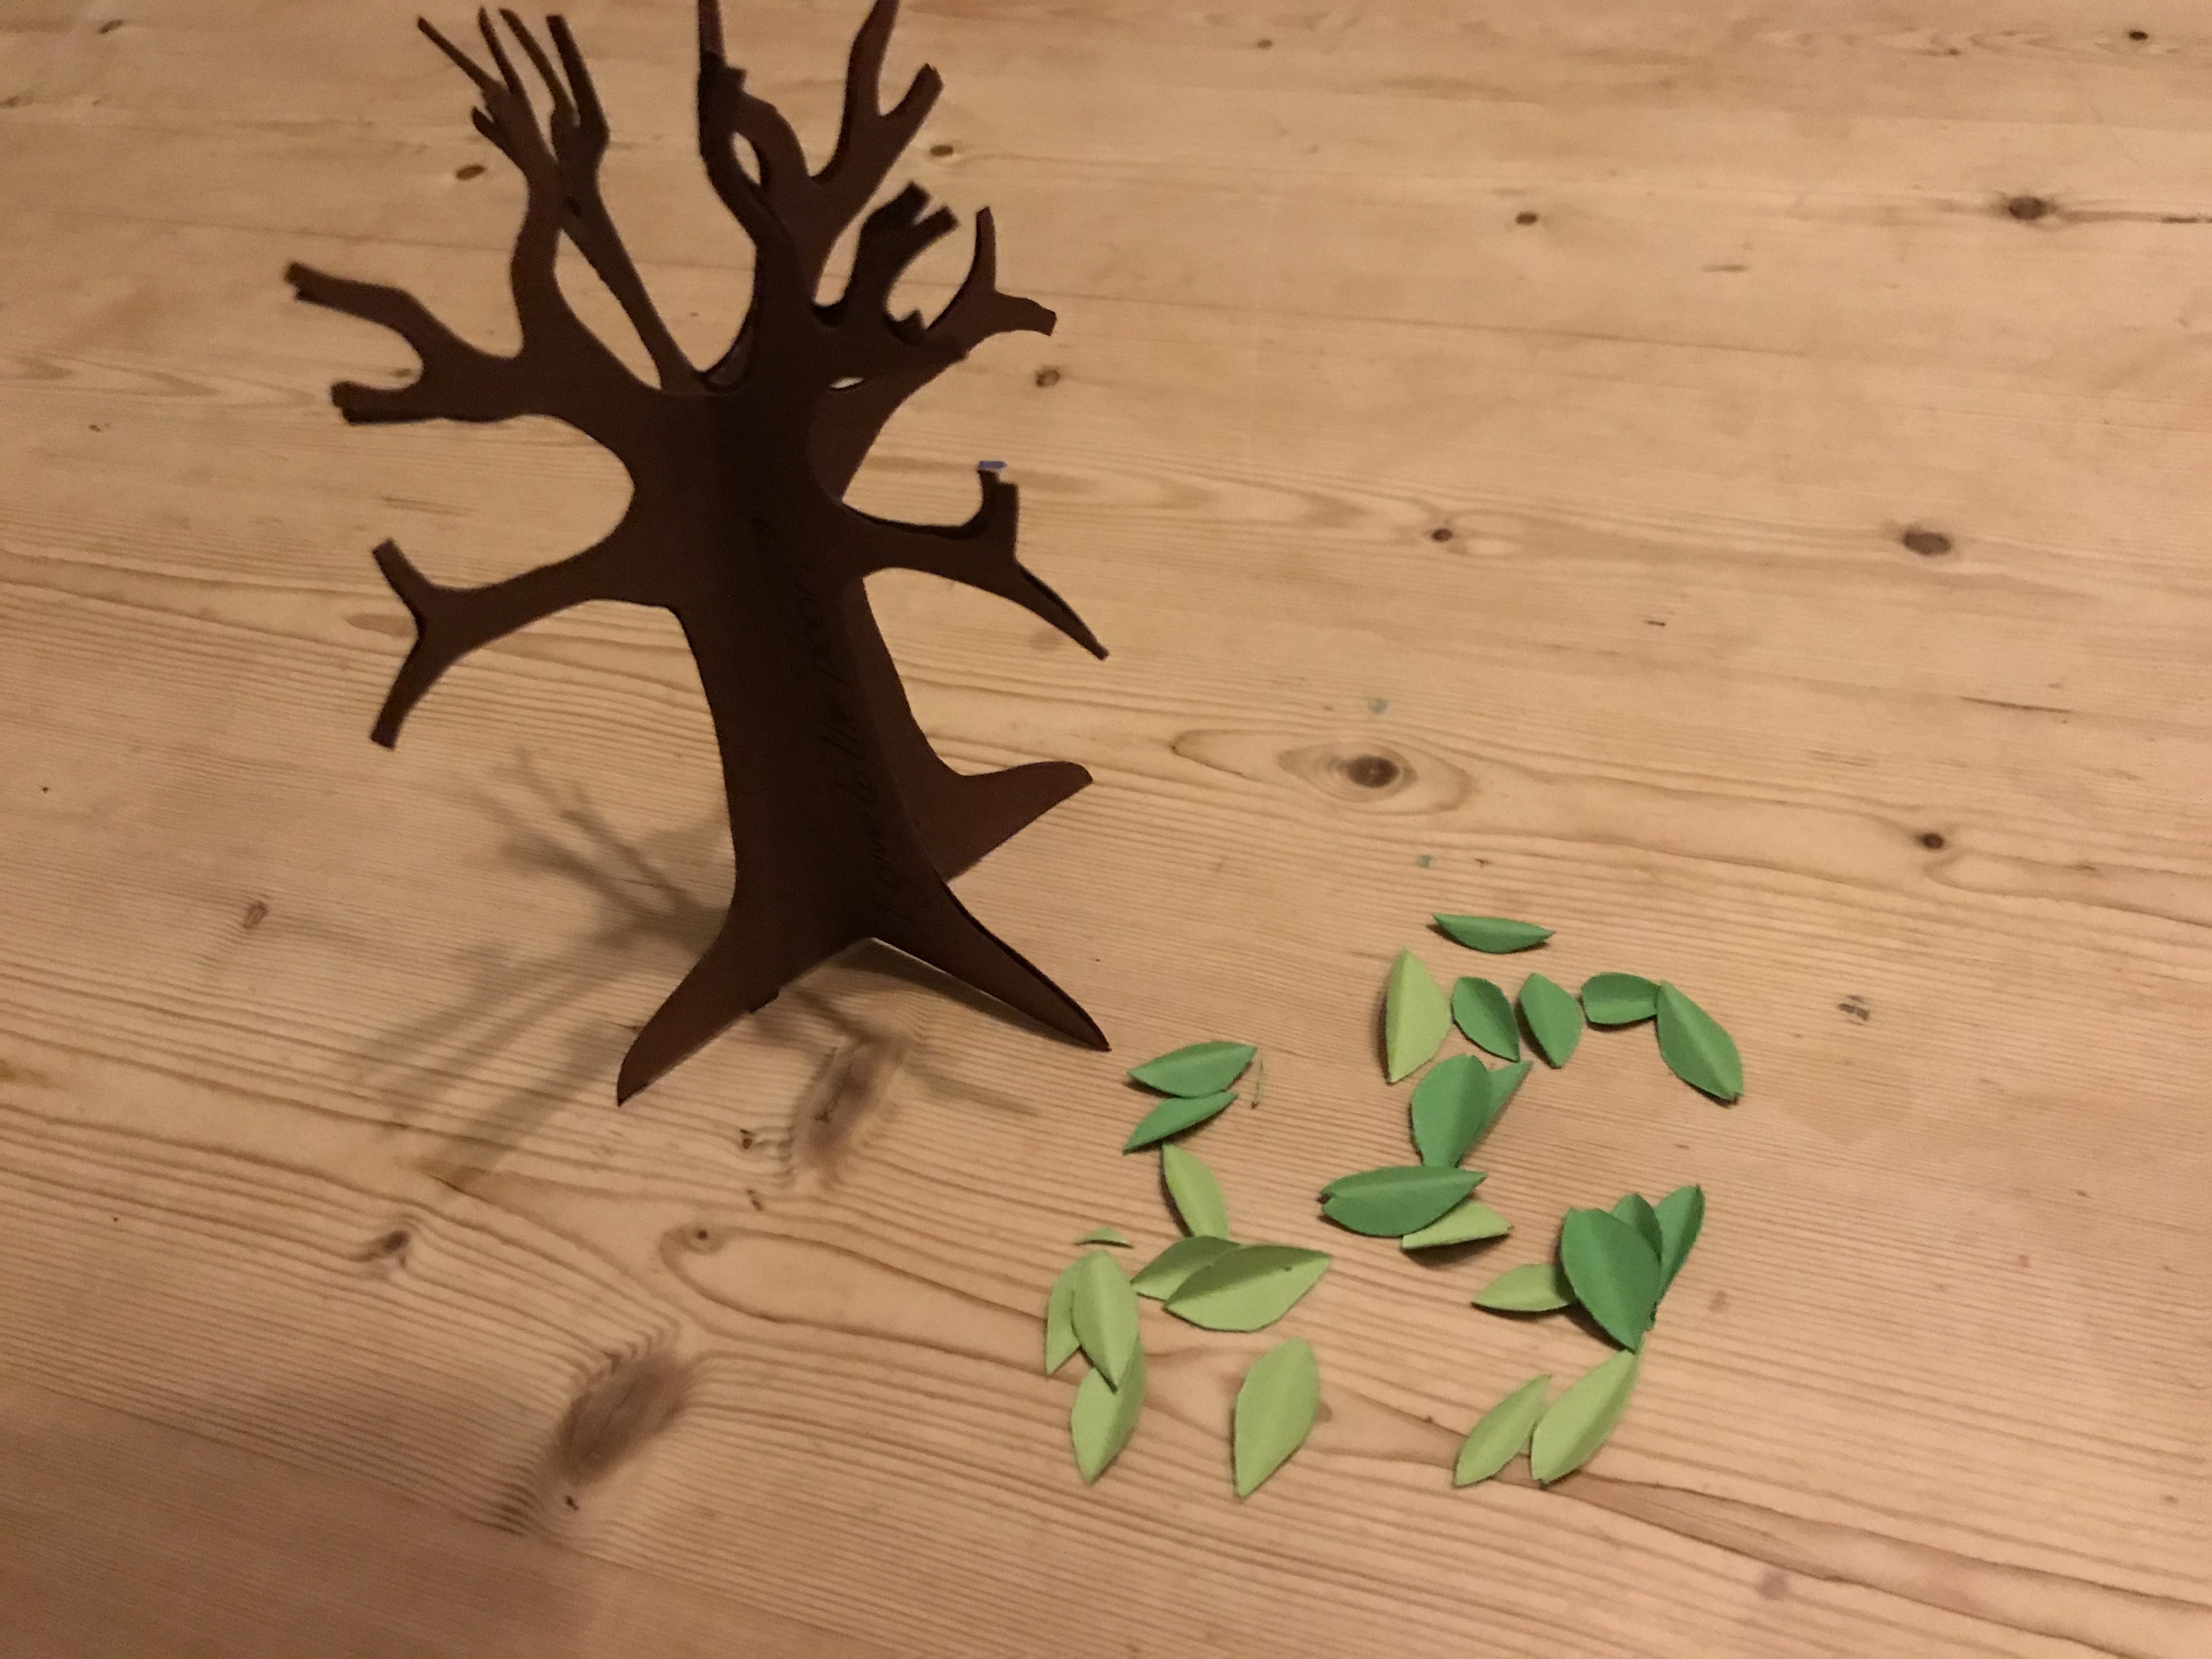
4. Glue half of one tree trunk to one half of the second tree trunk
5. Glue the other half of the second tree trunk to the third tree trunk
6. Glue the other half of the third tree trunk to the fourth tree trunk
7. Then very carefully glue the other half of the fourth tree trunk to the first tree trunk
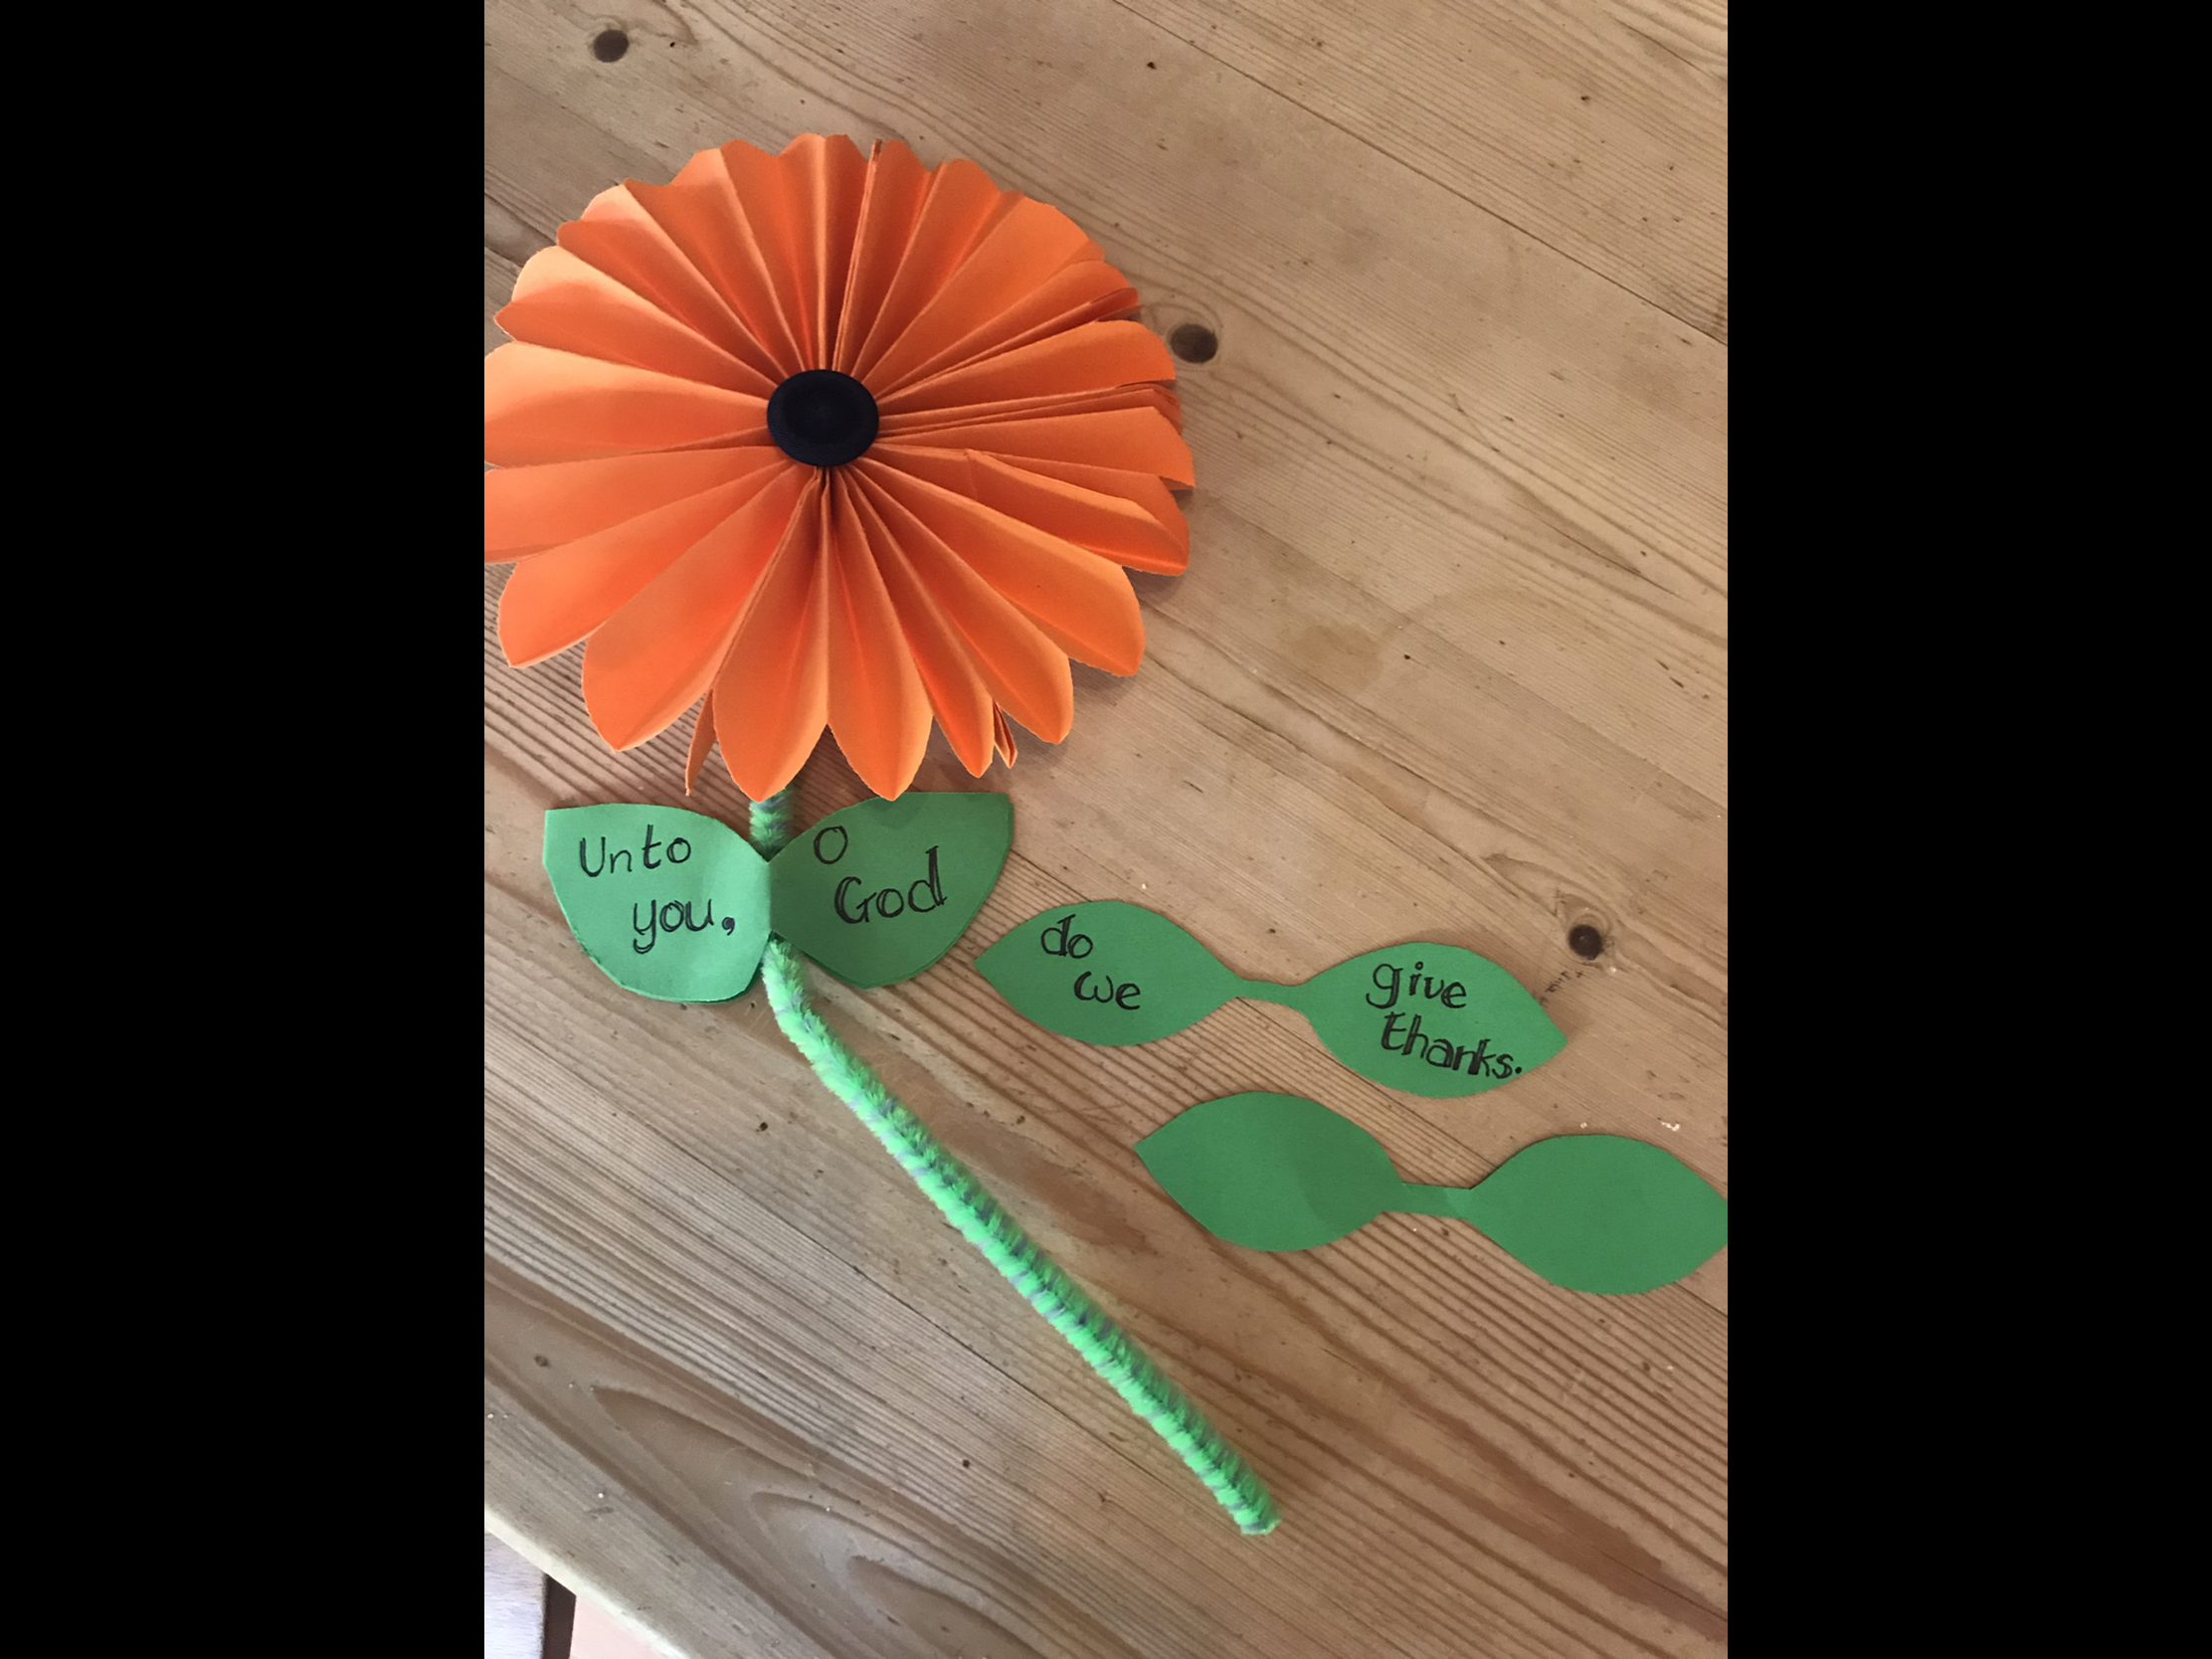
8. Take some green card, tissue, and paper and make a 1cm fold along one edge
9. Cut a half leaf shape along the folded edge, carry on until you have about 25 to 30 leaves.
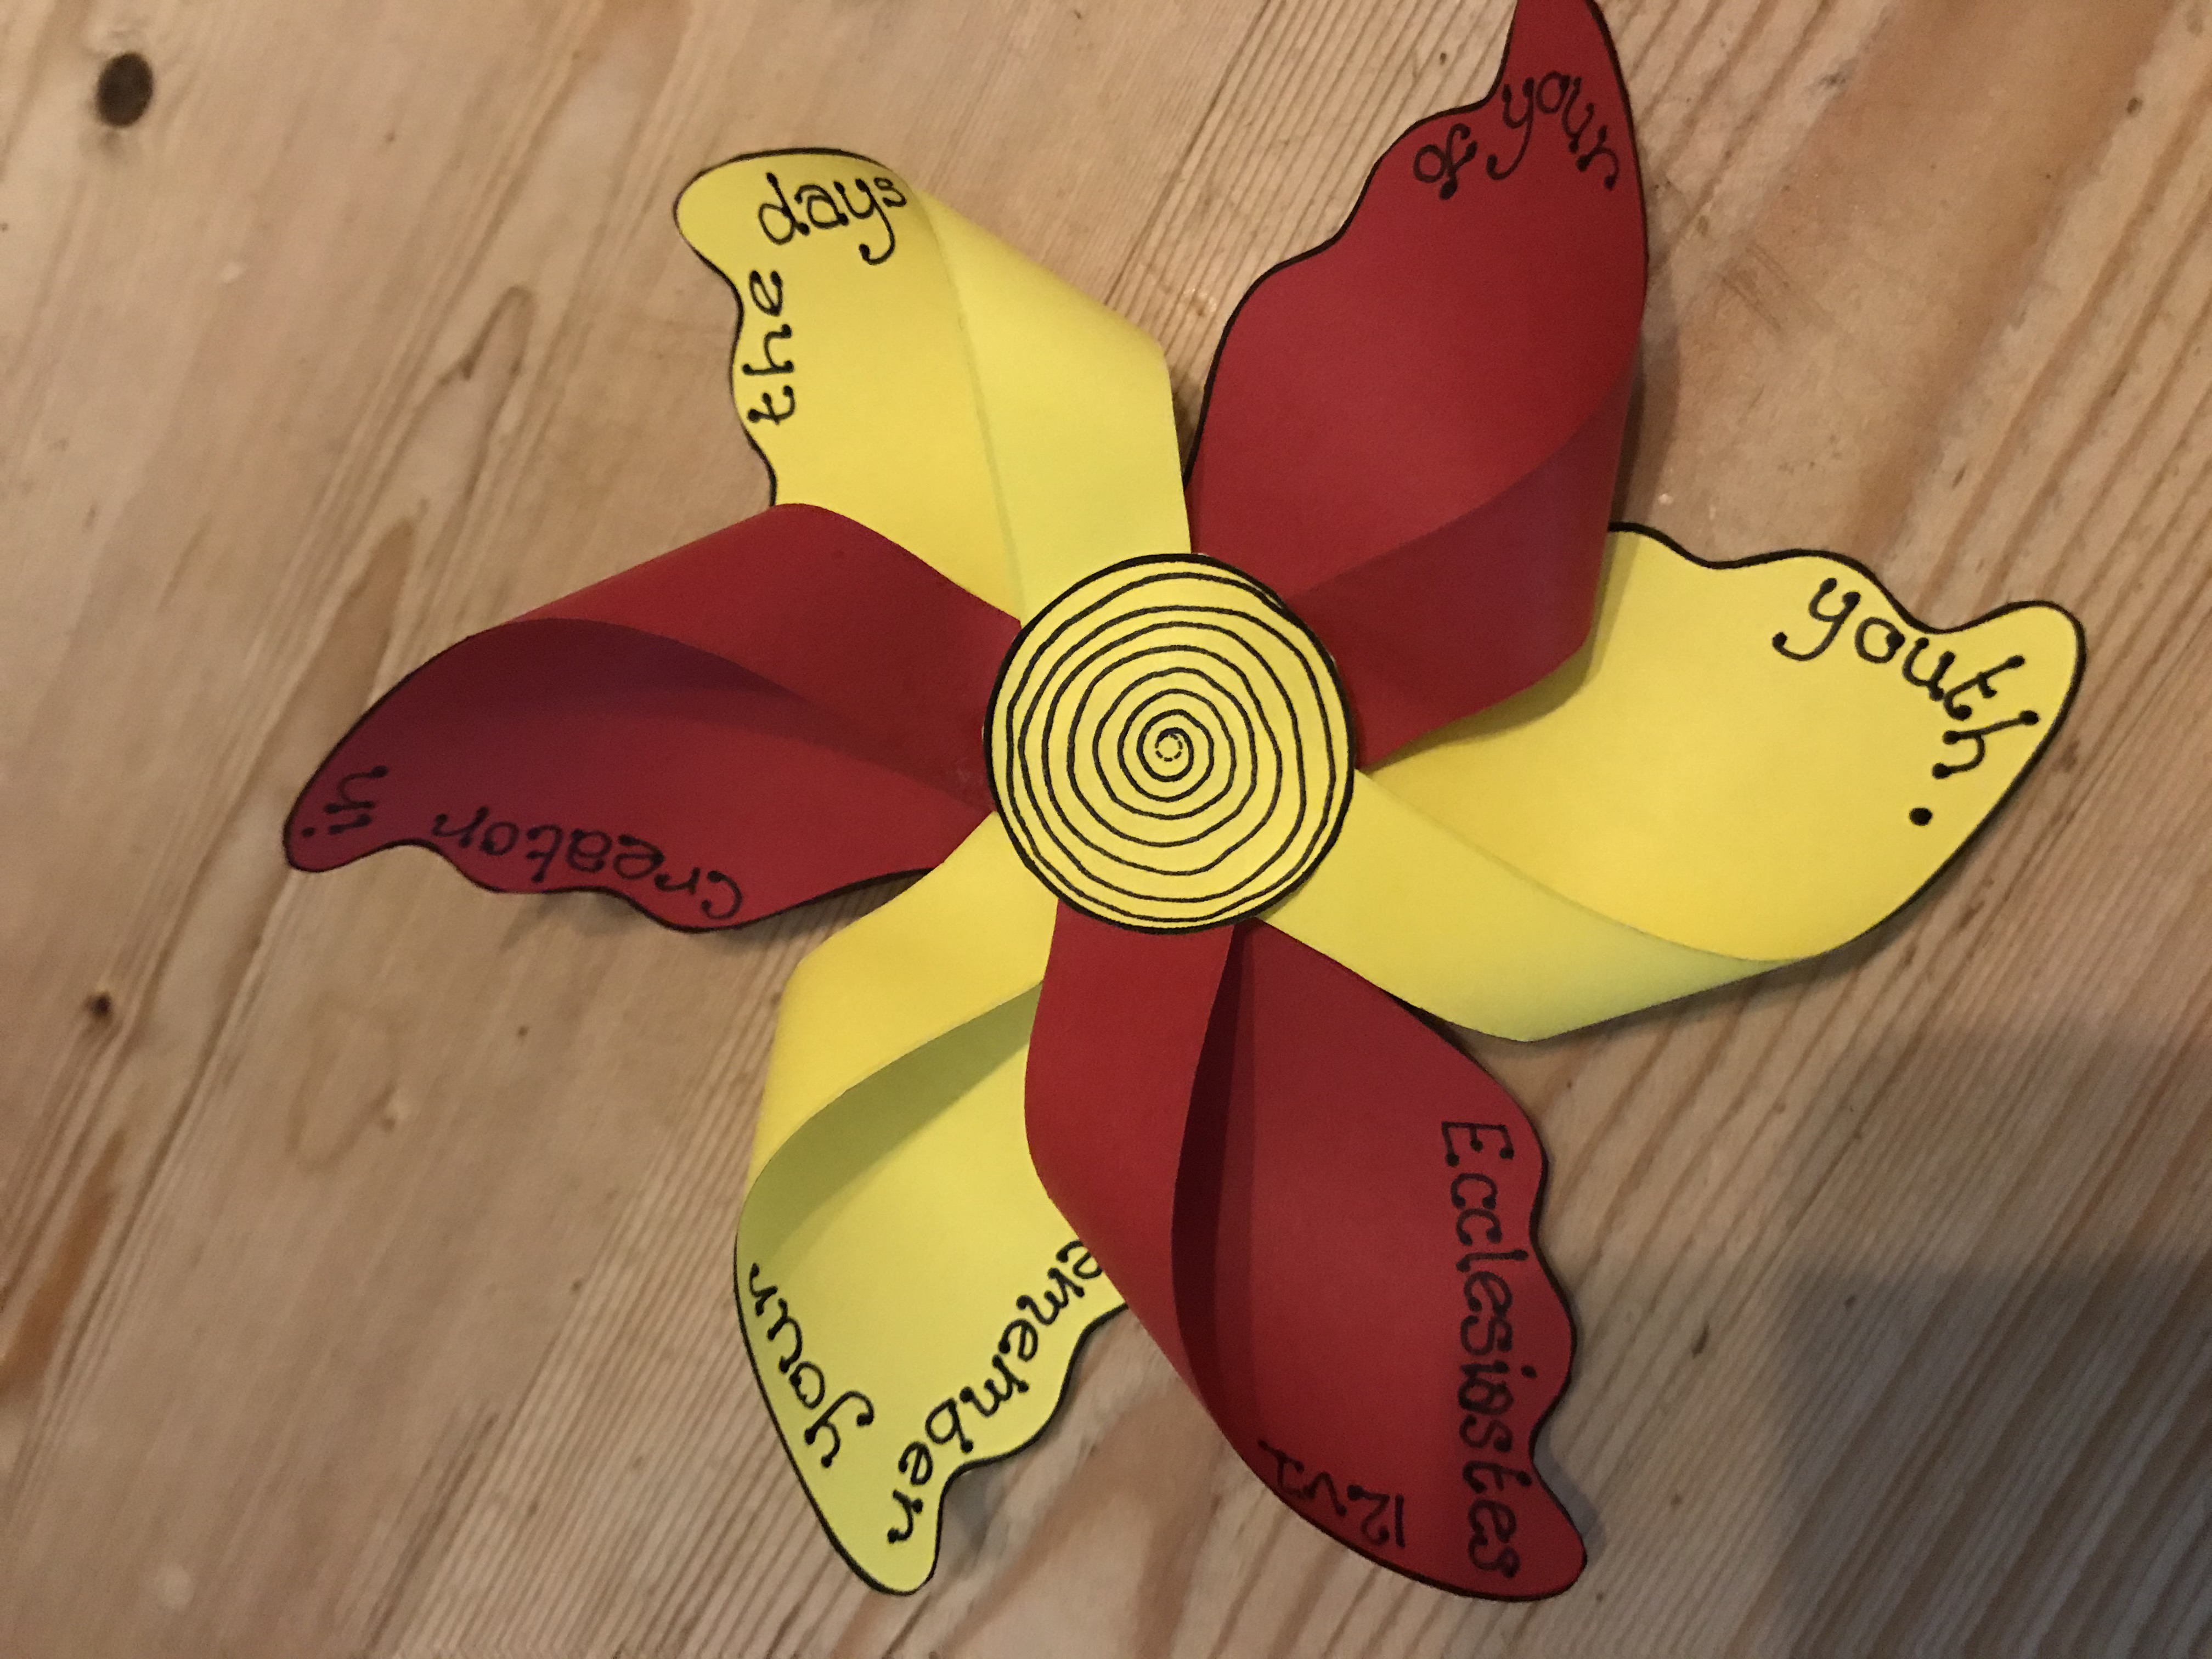
10. Glue the leaves on to the tree 🌳

Click Here for Tree Template #1
Click Here for Tree Template #2


IMG_1480

Flipflop

FlipFlop Fridge Magnet Craft

That’s quite a mouthful of words, isn’t it? A flipflop fridge magnet craft! Here are the instructions and a photo to show you what it could look like:


Flip flop fridge magnet instructions
1. Take the card base and the page of atlas and use the card as template, drawing round it so that you have the same shape on the page of atlas.
2. Cut out the template on the atlas page.
3. Glue the atlas to the card
4. Take the piece of coloured card and write the memory verse on it   – Your word is a lamp to my feet and a light to my path.  Psalms 119 v 105
5. Stick the verse to where your heel would go in the flip flop
6. Take the two pipe cleaners and feed one through each slide hole in the card making a hole in the atlas, then stick tape on the reverse of the card to hold the end of the pipe cleaner in place.
7. Bring the two pipe cleaners together twisting them and feeding them through the hole in the middle of the flipflop towards the front.
8. Then tape the pipe cleaner on the reverse of the card and cut off the excess pipe cleaner.
9. Take the magnet, peeling off the double sided tape and stick it on the back of the flipflop.
10. Put it on a metal surface and remember the verse.


Flipflop

Card craft

Thank you card craft

This weeks craft is simple, yet really useful. We would like you to make a Thank You Card to give or send to someone. As we start back to school and think about the last few months, we have so much to be thankful for. Thankful to our Mums and Dads for looking after us; maybe our grandparents as well; our teachers for helping us even when we were not at school; our brothers or sisters for being patient with us; our Junior Church Leaders for teaching us Bible verses and sending us crafts to do. That’s  just a few ideas.

And here is an example of how it could look. Send us a picture when you have it done!


Card craft

We love because

Memory Verse – W

Can you believe that we are at “W” already? Why not print it off, then learn it while you are colouring it in. Show your work to someone at home, and tell them the verse you have learnt. You could even send us a video of you saying it while holding your picture!…


We love because

Photo4

Heart Suncatcher Craft

This week, you are going to make a suncatcher. Whats that? you say….Its a heart shape, with colours, and when the sun shines through, it will look amazing!


Suncatcher Heart decoration Instructions

1. Take the heart template and cut carefully round the outside line of the template and then inside the inside line.
2. Cut the transparent plastic and glue into the centre of the the heart template so that it looks like a window within a heart-shaped window pane.
3. Cut some small shapes from the tissue paper – they could be heart shapes or random ones.
4. Glue them to the clear plastic – one piece at a time.
5. Add the memory verse – We love because He first loved use.


Photo4

Lantern

Lantern Craft

This week, we are asking you to make a Chinese Lantern. Once you have it made, you can decorate and make it unique to you. Remember to send us photos of your final version!

Chinese Lantern Instructions

1. Take an A4 piece of paper or larger rectangle
2. Measure a line 1 inch (3cms) on the short side of the paper. Cut along the line – this will form the handle
3. Fold the large rectangle into half length ways
4. Measure a line 1 inch from the open side of the fold
5. From the folded side measure lines 1 inch apart and cut along these lines upto the line made in point 4
6. Unfold the paper and and decorate – you could add coloured borders along the top and bottom add shiny things, colour some areas in
7. Add the memory verse to the piece of paper for the handle
8. Fold the decorated rectangle round to form a cylinder and staple, then staple the handle to the top of the cylinder


Lantern

19

Paper Flowers Craft

We hope you enjoy making the craft this week. It is a bit more complex, and you may need to ask for some help. But please do send us some pictures or video to show us how you got on.


19


Flower Craft Instructions

1. Put your four square pieces of paper (the same size as each other) together in a pile.
11

2. Make a fold along one side about 1 to 1 1/2 cms wide (this acts as a guide for folding each sheet, then separate the pieces of paper.
12


3. Carry on make the folds across the sheet, each time folding the paper back on itself to make a concertina pattern. Once you have reached the end of the paper fold the concertina paper in half.
13


4.  Then glue the two inside folds of each of the to each other so it makes a quarter circle fan. Repeat steps 3 & 4 for each of the other 3 paper squares.  
14

5. Decide on the shape of the petals – it could be a quarter round shape or a sharper pointy petal like in the picture.  Cut the end of each of the concertina shape to that pattern – this is a bit hard as you have to cut through all the folds of paper.
15

6. Once you have done that glue one of the outside folds of one of you concertina paper to one of the other ones -making sure the folder ends are both touching.  Then glue the next one and add it to the stack and add the final one.
16

7. Once it is dry gently fan out the paper so that it makes a circular shape. Take you pipe cleaners (now called giant stems) and twist them together and feed the end of the pipe cleaners through the holes in your button. Put lots of glue the last two outside folds, and the folded middle bit. Then place the button end of your giant stem through the middle of the centre and glue the outside folds of the paper around the steam and to each other.  Wait until it drys.
17


8. Cut out the 3 pair of leaves and write the memory verse on them – leaf 1 ‘Unto you’, leaf 2 ‘O God’, leaf 3 ‘do we’, leaf 4 ‘give thanks.’ Leaf 5 ‘Psalms’, leaf 6 ‘75v1’. Glue the leaves to one of each of the giant stems.
18


Anchor

Anchor Craft

This week’s craft is all about “Trust”, to go with our verse, “Trust in the Lord with all your heart”. So, open the pdf file, and follow the instructions. And remember to let us see how you got on!


Anchor

Glasses Final

Spectacular Spectacles Craft

“Seek the Lord while He may be found”. Its all about looking and seeing, isn’t it? So this weeks craft is you making your very own spectacular spectacles!

Glasses Instructions

  1. Carefully cut out the glasses template, an adult may have to help you cutting out the eyehole bit.  Cut out the glasses arms templates.
  2. On the glasses template make a fold at each side along the dashed lines.
  3. Cut the lenses to size and glue them in place round the inside of the glasses frame.  See if you can write the memory verse of the arms of the glasses – Seek the Lord while he may be found.  Isaiah 55v6.
  4. Decorate.
  5. Glue the arms in place.
  6.  Put them on a be cool!

    Glasses Final

4

Windmill Craft

We hope using this windmill will remind you of this week’s verse: “Remember your creator in the days of your youth”. Here are the instructions and some pictures to help. Enjoy!


Windmill instructions
1. Carefully cut out the three templates – 2x blades and 1x circle.  Best to add any decoration at this stage, and of course the memory verse for this week – Remember your creator in the days of your youth.  Ecclesiastes 12v1 , but keep the decoration away from the centre of the templates.

2. Take the two blade templates. Position them so that the blades of the first template are nested between those of the second one. Glue the template pieces together at the centre.

3. Glue the first tip of a blade into the centre of the wheel. Without creasing the paper, bring one of the six tips towards the centre and glue it in place.

4. Then work your way round gluing each of the other tips into the centre and than glue your circle on top of them, in the centre.

5.  Put a drawing pin through the centre, a feed a bead on to the back and stick it into pencil which has an eraser on the end.


Click Here to download the Templates.


Windmill

http://gracebaptist.org.uk/